Hellbound: Road to Dynasty & IcarusHellbound: Droga do Dynasty i Icarus
Everything you need to know to gear up your character through Hellbound on Project Ortos — from your first Standard Certificate to a full Dynasty set, then through Stage 12 unlock, Icarus weapons, and finally the Beleth raid. Wszystko co musisz wiedziec, zeby wyekwipowac postac przez Hellbound na Project Ortos — od pierwszego Standard Certificate po pelny zestaw Dynasty, odblokowanie Stage 12, bronie Icarus i wreszcie raid na Beletha.
01What you need to know firstCo musisz wiedziec na poczatek
Hellbound on Project Ortos works a bit differently from retail Lineage 2. Read this section before you set foot on the cursed island — it will save you hours of confusion. Hellbound na Project Ortos dziala troche inaczej niz na retailu Lineage 2. Przeczytaj te sekcje zanim postawisz stope na przeklętej wyspie — zaoszczedzi Ci to godzin zamętu.
Hellbound territory starts at island level 11 on our server (no need to grind from 0) and is the endgame focus of Stage 2 and Stage 3 of the server timeline. Stage 12 (the new tier) is unlocked by the community over time — see Section 06. Terytorium Hellbound zaczyna sie od poziomu wyspy 11 na naszym serwerze (nie trzeba grindowac od 0) i jest endgame'owym celem Stage 2 i Stage 3 timeline'u serwera. Stage 12 (nowy tier) jest odblokowywany przez spolecznosc z czasem — patrz Sekcja 06.
Quick glossaryKrotki slownik
- Hellbound level — the global progression of the island (1 → 12). Affects which content is unlocked. Check it any time with the voiced command
.hellbound.Hellbound level — globalny postep wyspy (1 → 12). Wplywa na to, jaka zawartosc jest dostepna. Sprawdz w dowolnym momencie komenda.hellbound. - Standard Certificate — the entry token you need to start farming Dynasty.Standard Certificate — token wejsciowy potrzebny do rozpoczecia farmienia Dynasty.
- Premium Certificate — a higher-tier token that you trade for actual Dynasty pieces.Premium Certificate — token wyzszego tieru, ktory wymieniasz na czesci Dynasty.
- Sealed Dynasty Piece — the raw material; you craft it into wearable Dynasty using the right recipe and key materials.Sealed Dynasty Piece — surowy material; craftuje sie go w noszone Dynasty przy uzyciu odpowiedniego przepisu i materialow.
02Getting to HellboundJak dostac sie do Hellbound
Hellbound is gated behind Quest — Path to Hellbound. You must complete it once per character; afterwards the Warpgate will let you in freely. Hellbound jest zablokowany za Quest — Path to Hellbound. Musisz go ukonczyc raz na postac; potem Warpgate wpuści Cie swobodnie.
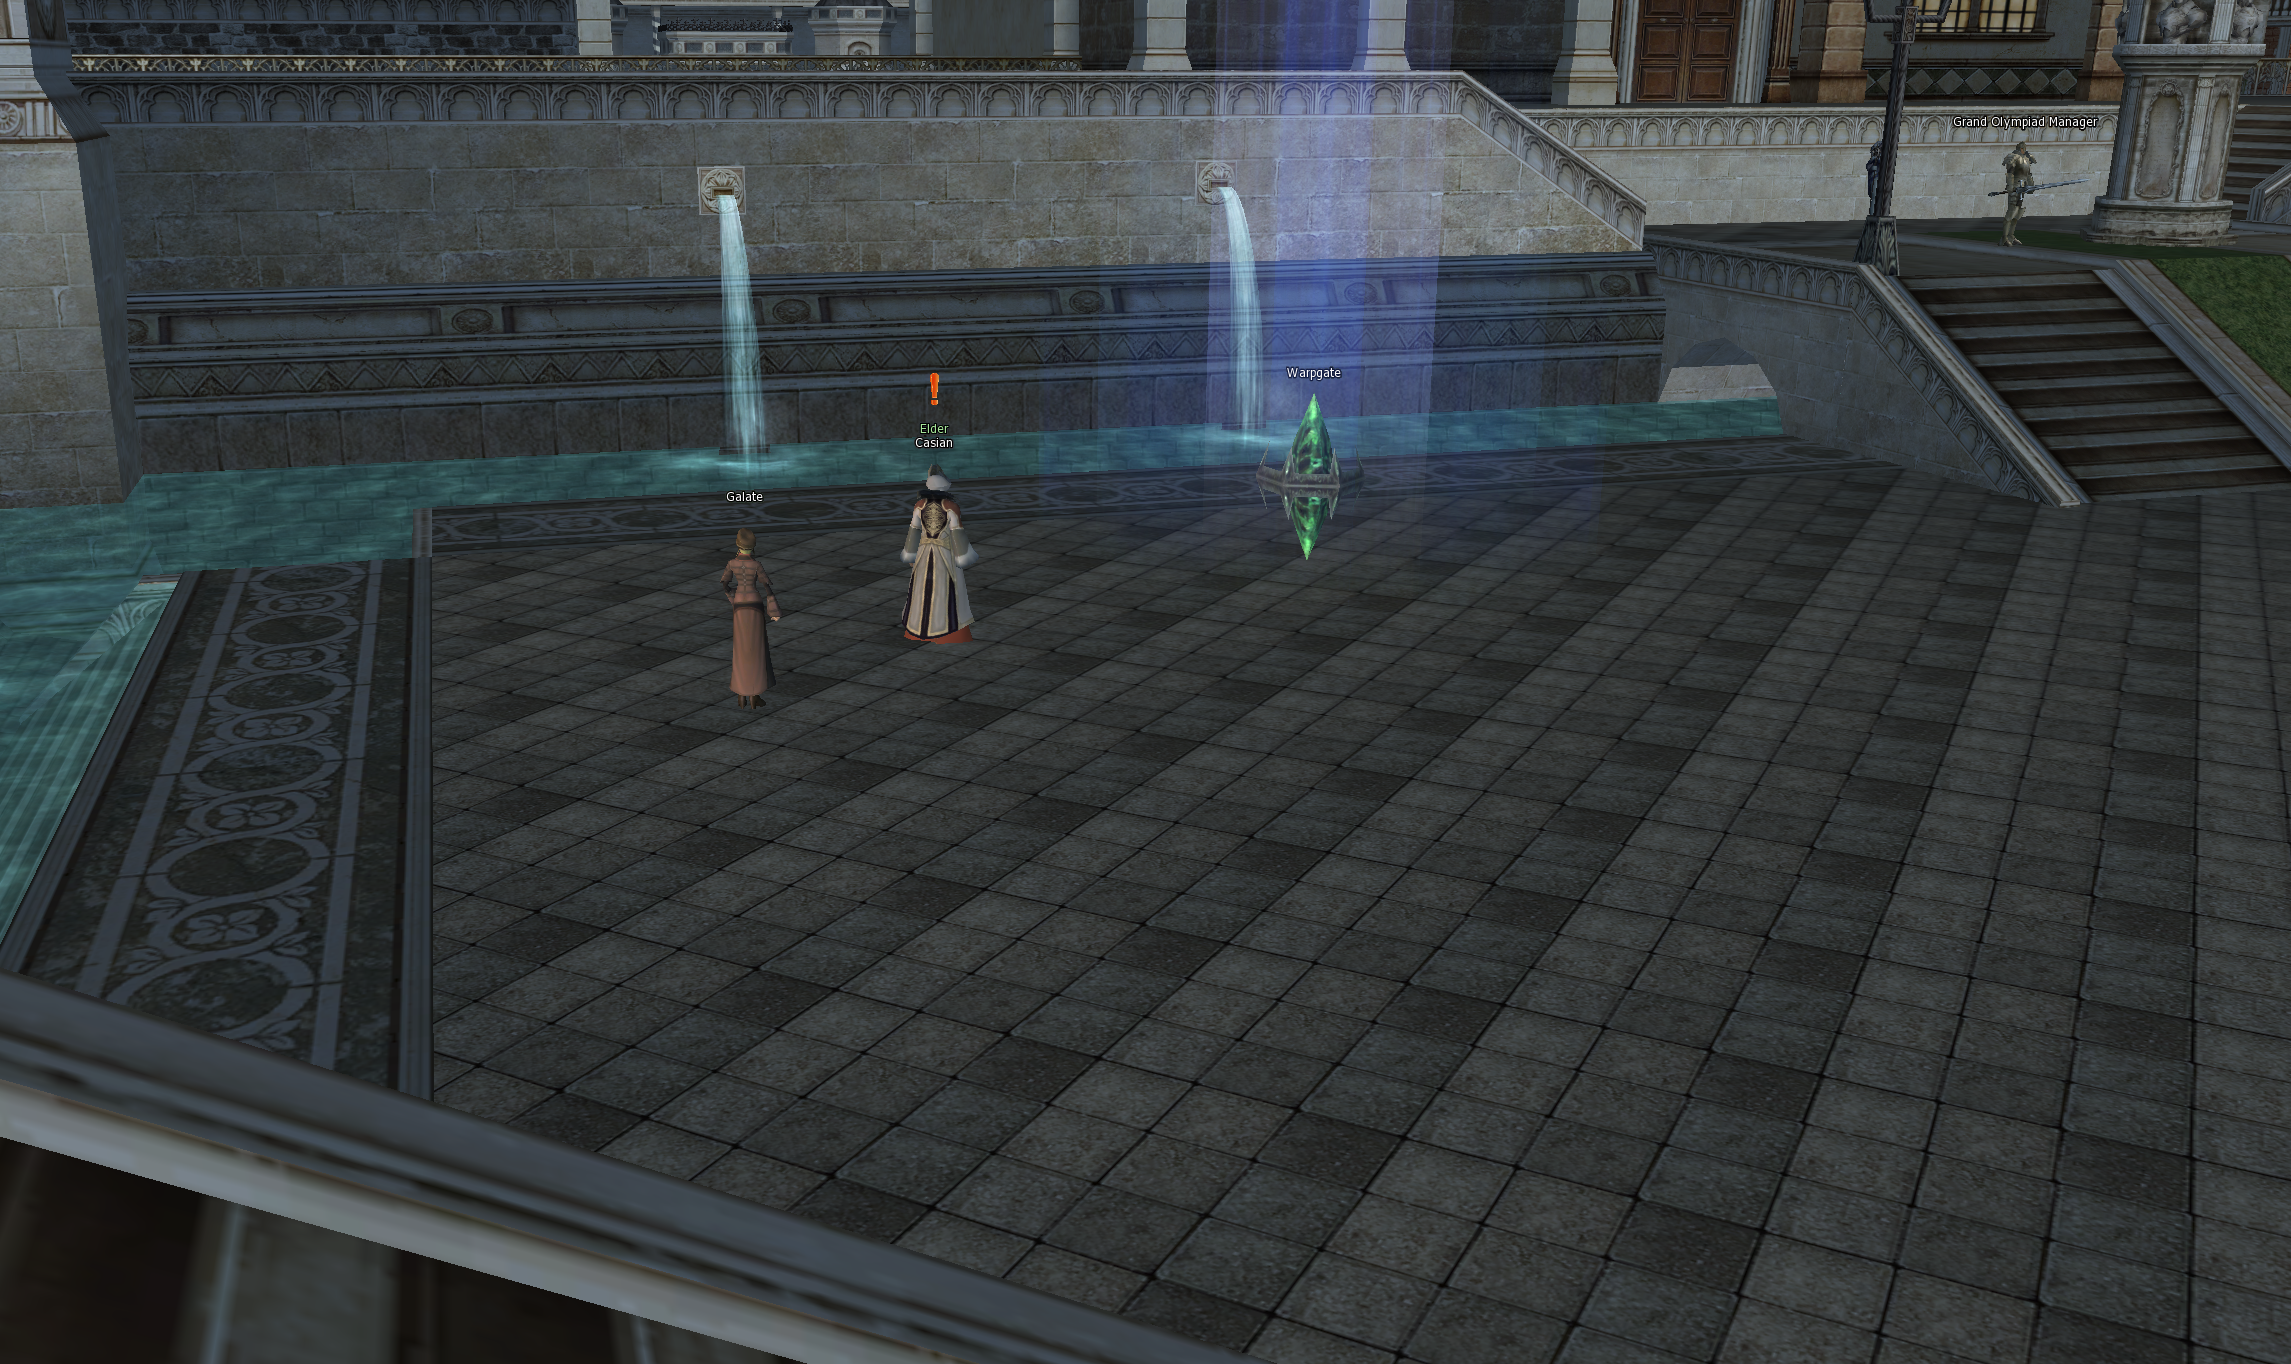
On retail this quest sends you running. On Project Ortos, both quest NPCs and the Warpgate stand right next to each other in Heine — the whole quest is finished within a few meters. Na retailu ten quest wymaga biegania. Na Project Ortos obaj NPC questowi i Warpgate stoja tuz obok siebie w Heine — caly quest konczysz w kilka metrow.
Where to goGdzie isc
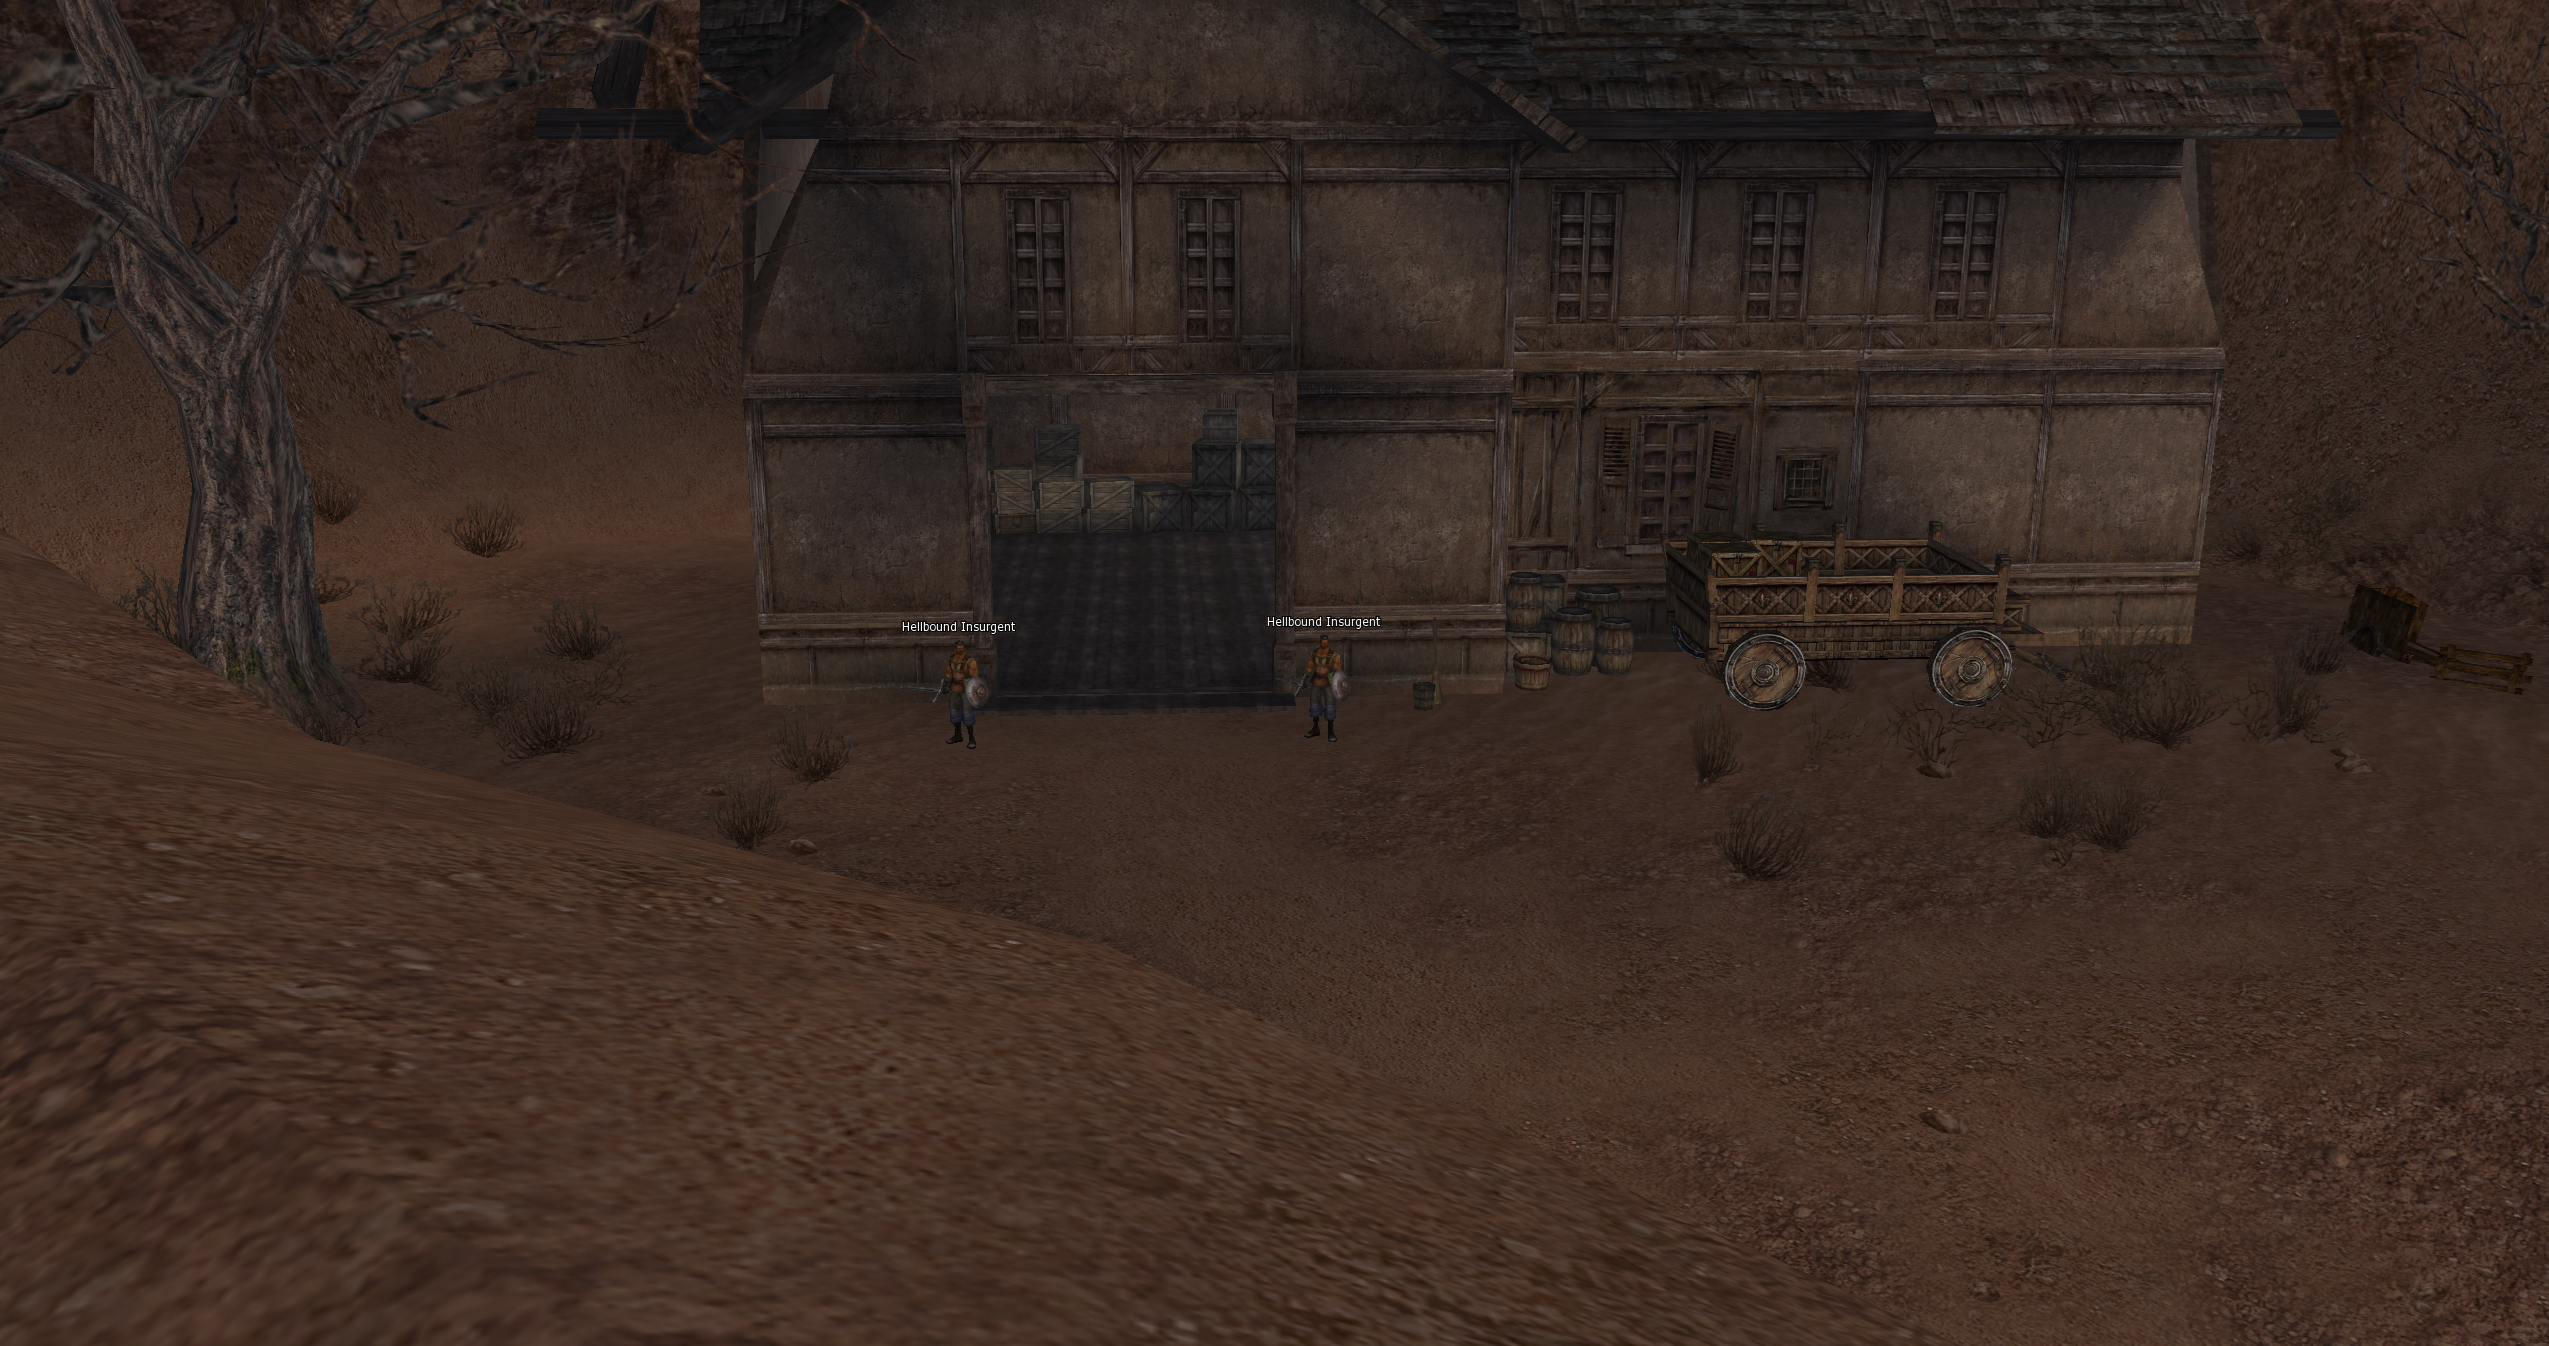
Teleport to Heine from any gatekeeper. Look for this trio standing together near the town's central plaza: Teleportuj sie do Heine z dowolnego gatekeepera. Szukaj tej trojki stojącej razem kolo centralnego placu miasta:
| NPC | Role |
|---|---|
| Casian | Quest start (Path to Hellbound) |
| Galate | Quest second NPC |
| Warpgate | Teleport into Hellbound (after quest) |
| NPC | Rola |
|---|---|
| Casian | Start questa (Path to Hellbound) |
| Galate | Drugi NPC questa |
| Warpgate | Teleport do Hellbound (po ukończeniu questa) |
RequirementsWymagania
- Character level 78+Poziom postaci 78+
- Hellbound island must be unlocked (it is on Project Ortos — Stage 2 and 3)Wyspa Hellbound musi byc odblokowana (jest na Project Ortos — Stage 2 i 3)
Quest steps (short version)Kroki questa (krotka wersja)
- Talk to Casian → accept the quest.Porozmawiaj z Casian → zaakceptuj quest.
- Talk to Galate next to him.Porozmawiaj z Galate obok niego.
- Return to Casian → receive Casian's Blue Crystal.Wroc do Casian → odbierz Casian's Blue Crystal.
- Bring the crystal to Galate → quest complete.Zanies kryształ do Galate → quest ukonczony.
- Use the Warpgate to teleport into Hellbound.Uzyj Warpgate, zeby teleportowac sie do Hellbound.
After the first time you do not need to redo the quest. Just come back to the same spot in Heine and use the Warpgate — it ports you straight to the island. Po pierwszym razie nie musisz powtarzac questa. Po prostu wroc w to samo miejsce w Heine i uzyj Warpgate — teleportuje Cie prosto na wyspe.
Useful in-game commandPrzydatna komenda w grze
| Command | What it does |
|---|---|
.hellbound | Shows current Hellbound level + trust + (at level 11) Stage 12 unlock progress. |
| Komenda | Co robi |
|---|---|
.hellbound | Pokazuje aktualny Hellbound level + trust + (na poziomie 11) postep odblokowania Stage 12. |
03The Caravan Certificate pathSciezka Caravan Certificate
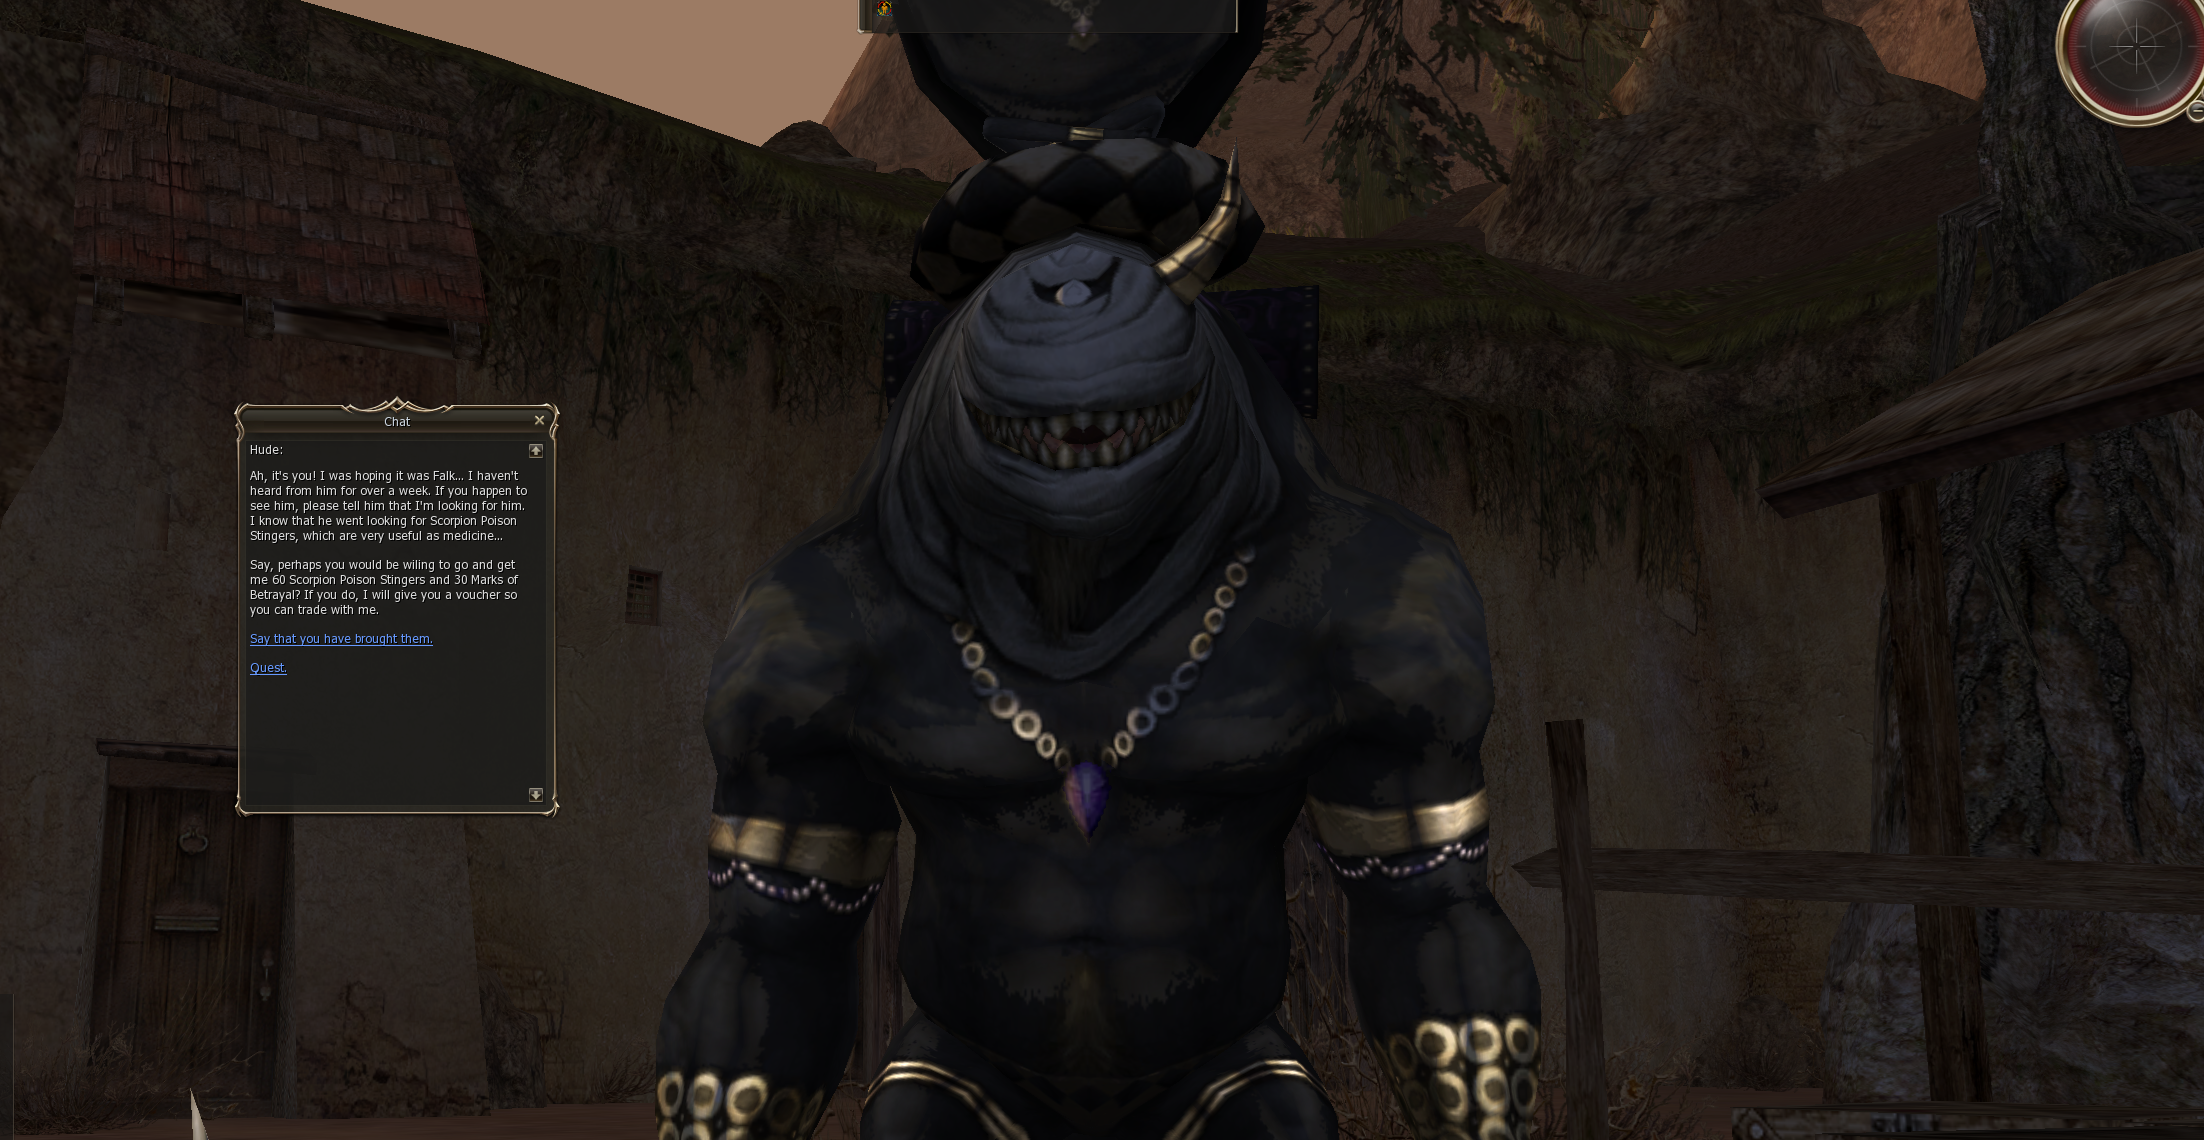
Sealed Dynasty Parts on Project Ortos are sold by Hude in a multi-sell that opens only after you hold a Premium Caravan Certificate. The Premium Cert itself is the end of a 3-step certificate chain. Sealed Dynasty Parts na Project Ortos sprzedaje Hude w multi-sellu, ktory otwiera sie tylko gdy posiadasz Premium Caravan Certificate. Premium Cert to koniec 3-etapowego lancucha certyfikatow.
  1. Falk    : 20 Darion's Badge                                       →  Basic Cert
  2. Hude    : Basic   + 30 Mark of Betrayal + 60 Scorpion Stinger     →  Standard Cert
  3. Hude    : Standard + 30 Life Force + 8 Contained Life Force       →  Premium Cert + Map
  4. Hude    : (with Premium Cert in inventoryz Premium Cert w ekwipunku) opens Sealed Dynasty multi-sellotwiera Sealed Dynasty multi-sell
                PayZaplac Hidden Pages + Demon Contract Fragments            →  Sealed Dynasty Pieces
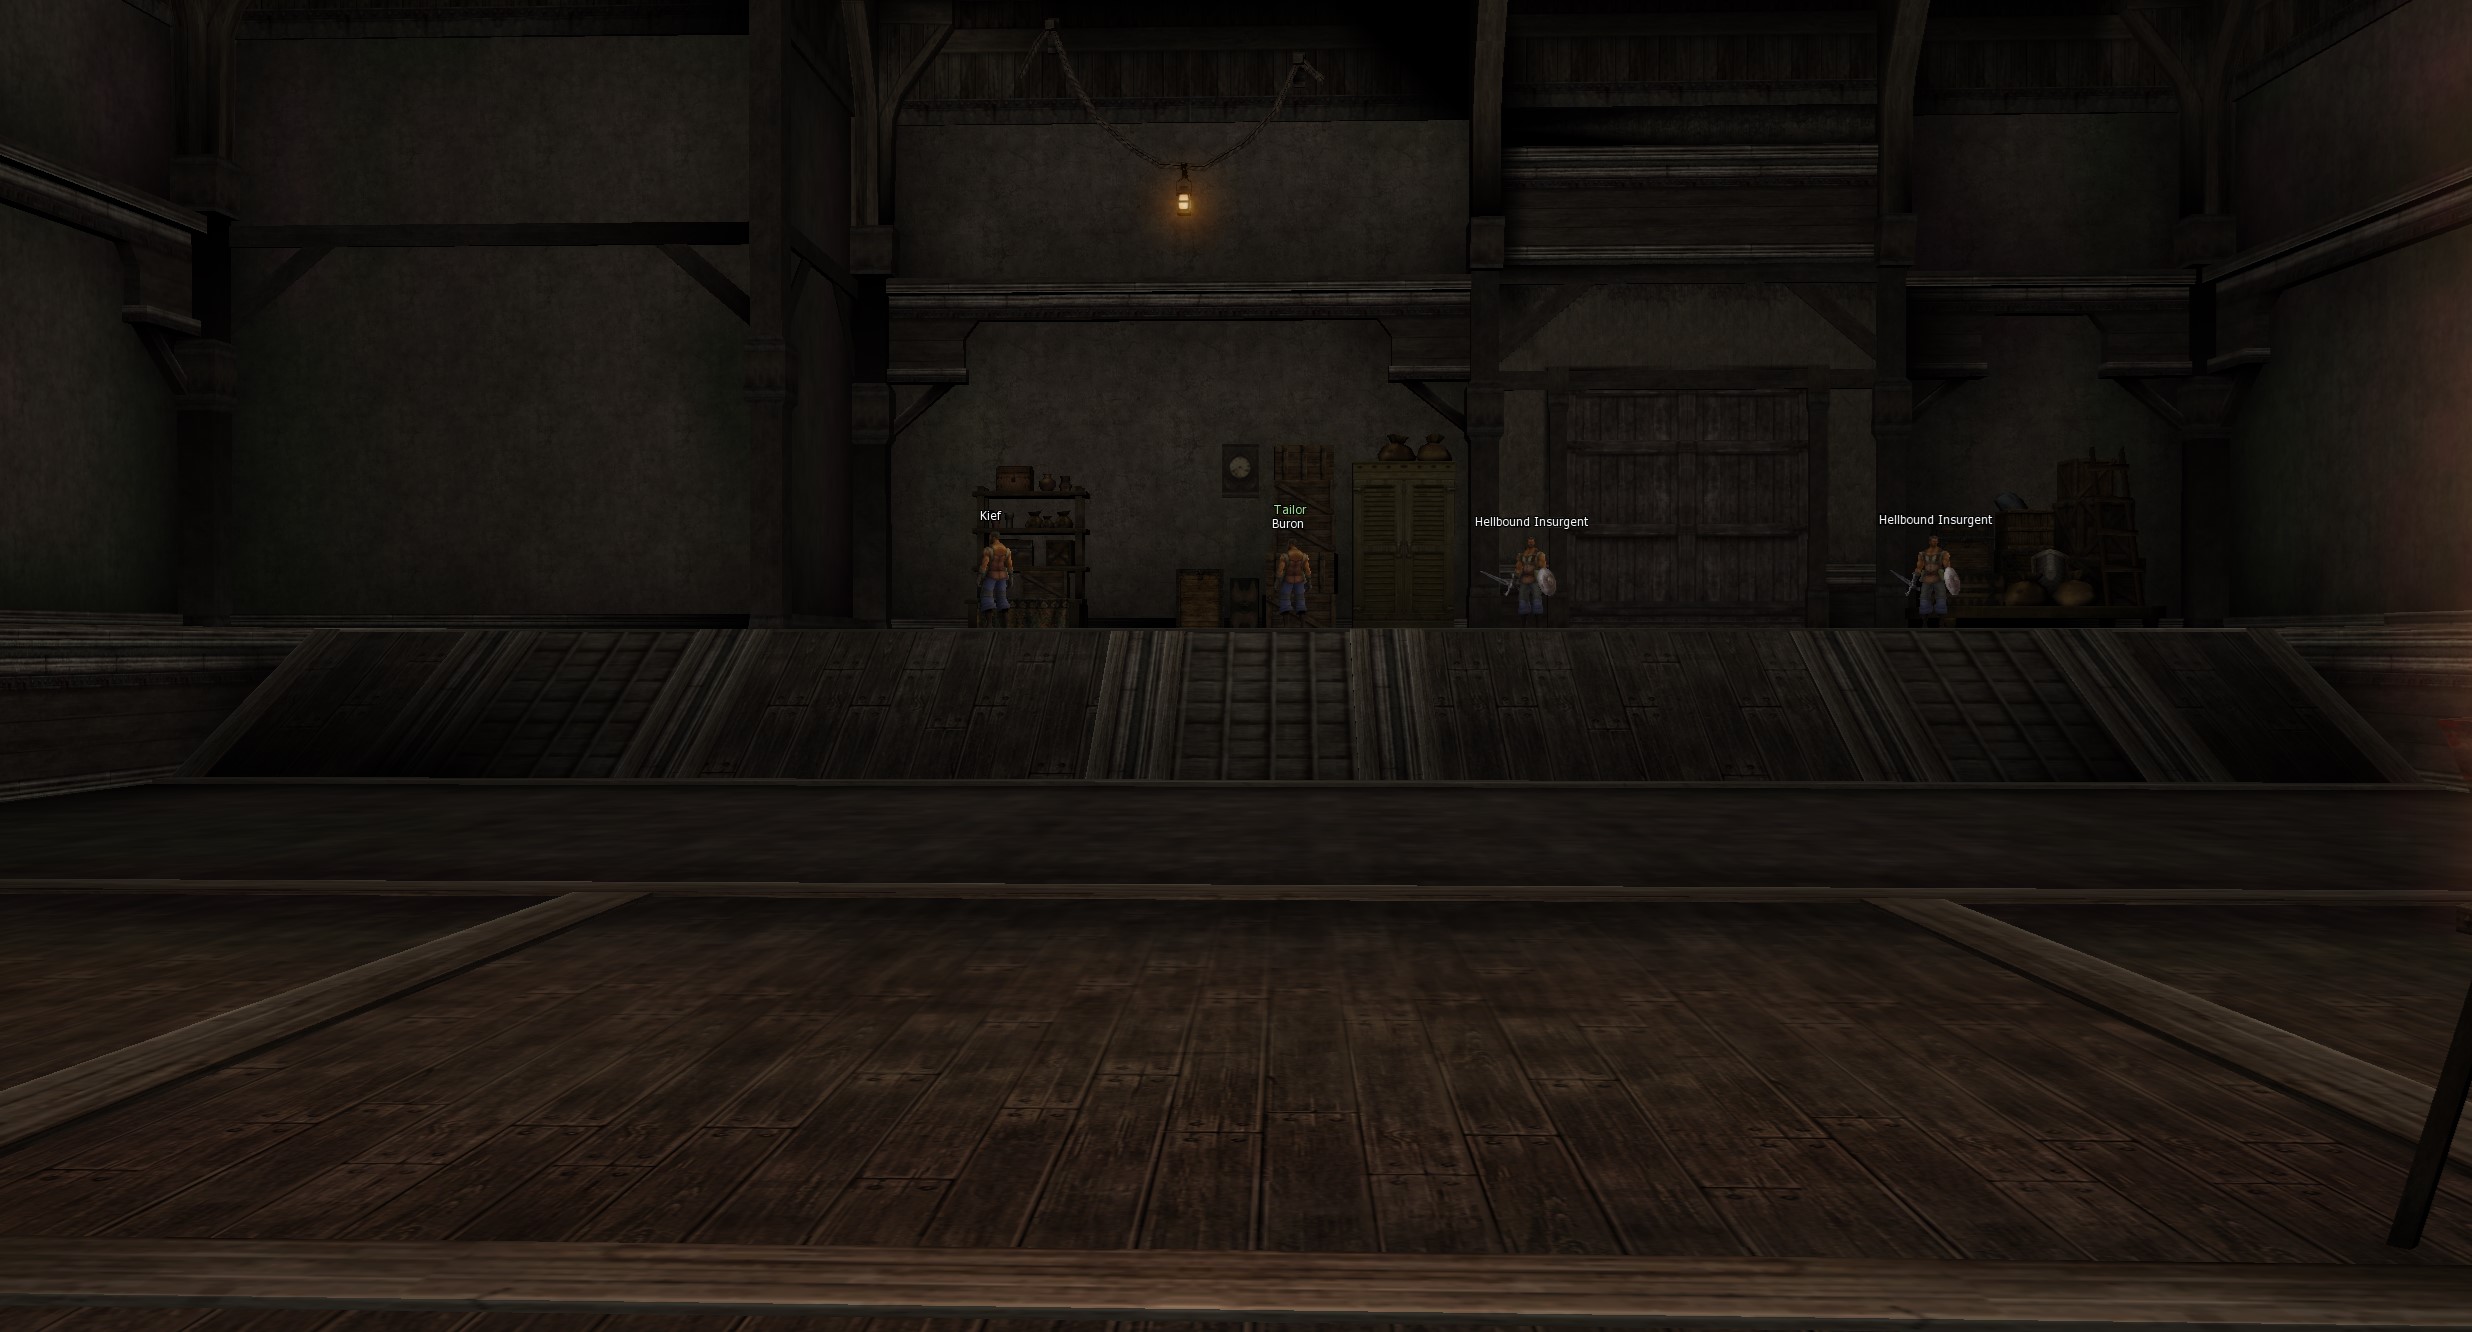
Where the certificate NPCs standGdzie stoja NPC certyfikatow
| NPC | Role |
|---|---|
| Falk | Basic Caravan Certificate |
| Hude | Standard + Premium + Sealed Dynasty multi-sell |
| Kief | Sells Magic Bottles (mandatory for the Premium step) |
| NPC | Rola |
|---|---|
| Falk | Basic Caravan Certificate |
| Hude | Standard + Premium + Sealed Dynasty multi-sell |
| Kief | Sprzedaje Magic Bottles (obowiazkowe do kroku Premium) |
Life Force, Contained Life Force and Dim Life Force do NOT drop from a normal kill. You only get them by finishing the target with a Magic Bottle: when the bottle's skill connects the loot spawns on the ground in front of the corpse (only the caster can pick it up). No bottles = no Life Forces = no Premium Certificate. Life Force, Contained Life Force i Dim Life Force NIE wypadaja z normalnego zabicia. Zdobywasz je tylko konczac cel Magic Bottle: gdy skill butelki trafi, loot pojawia sie na ziemi przed zwlokami (tylko rzucajacy moze go podniesc). Brak butelek = brak Life Forces = brak Premium Certificate.
Magic Bottle — where and howMagic Bottle — gdzie i jak
- Where: Kief in the Native base in Hellbound (event
Bottlein his dialog).Gdzie: Kief w bazie Native w Hellbound (opcjaBottlew jego dialogu). - Price: 20 Scorpion Poison Stinger → 1 Magic Bottle — one-time purchase, see below.Cena: 20 Scorpion Poison Stinger → 1 Magic Bottle — jednorazowy zakup, patrz nizej.
- Re-usable: the bottle is not consumed by the skill — buy one and you keep it forever. Bound to the player (no trade / drop / sell), ~1.5 s reuse between catches. Wielokrotnego uzytku: butelka nie jest zuzywana przez skill — kup jedna i masz ja na zawsze. Przypisana do gracza (nie mozna handlowac / wyrzucic / sprzedac), ~1.5 s reuse miedzy zlapaniami.
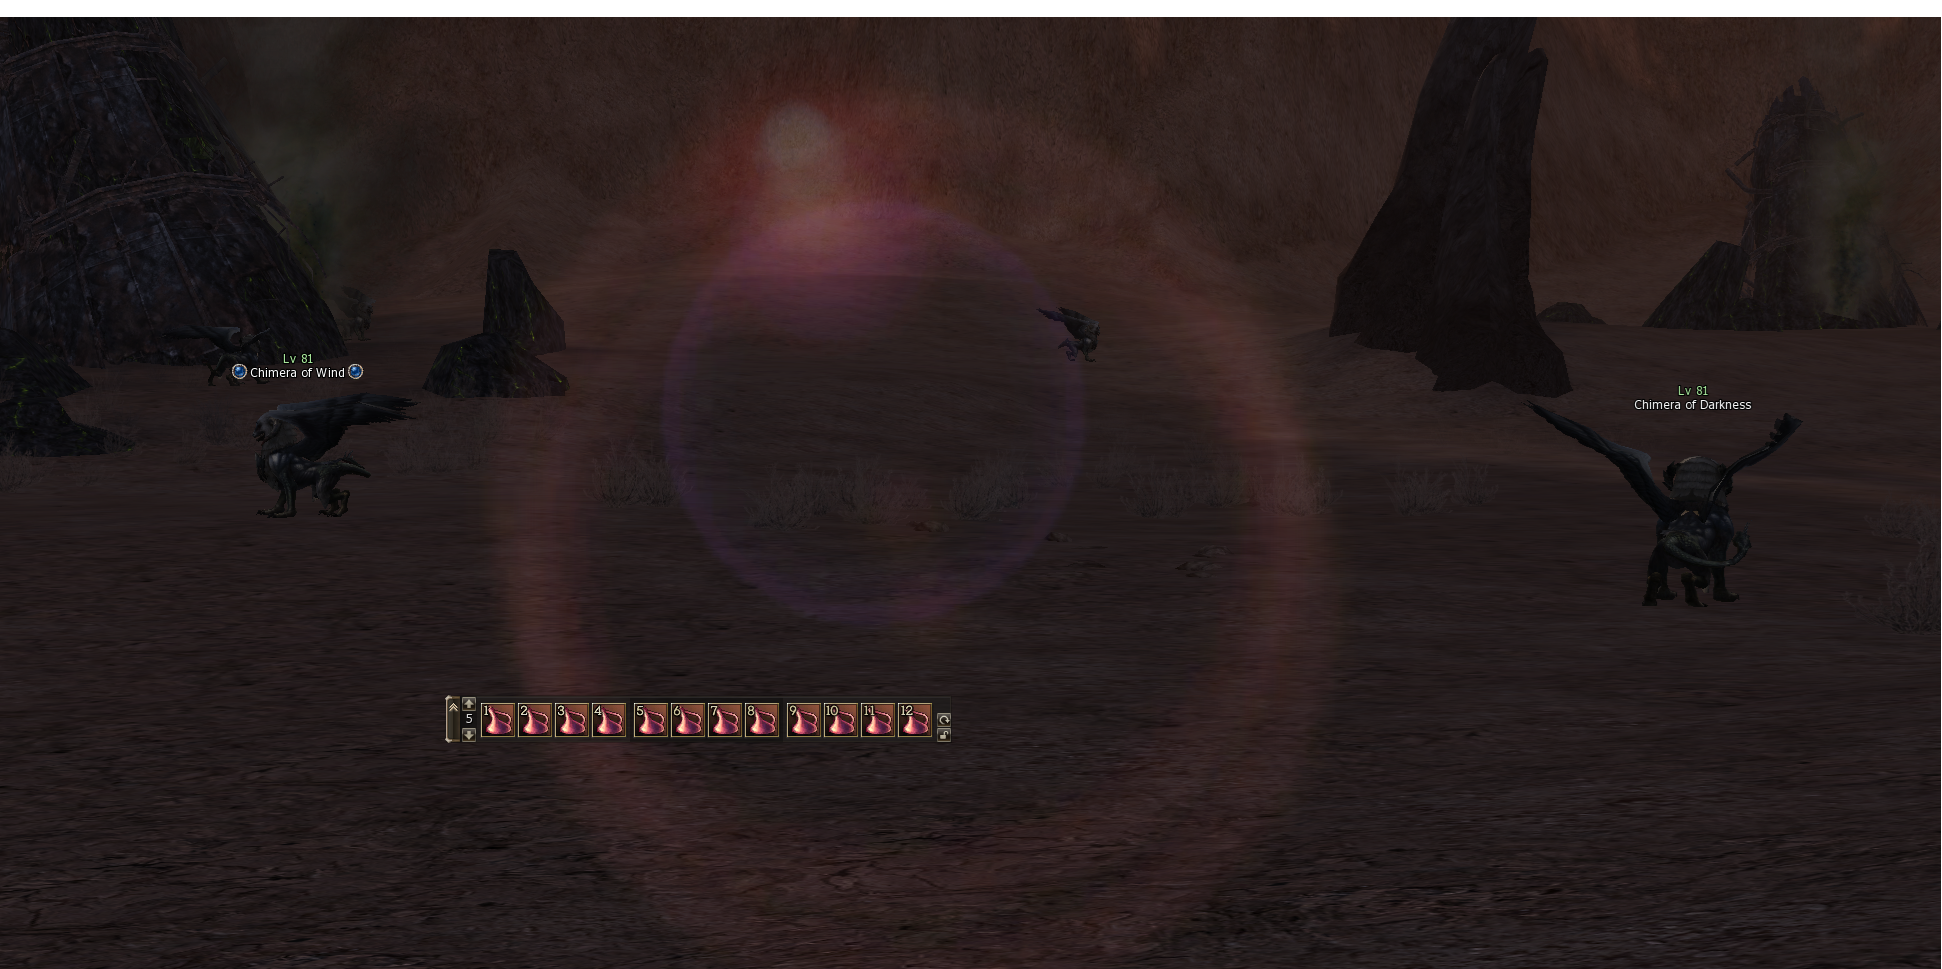
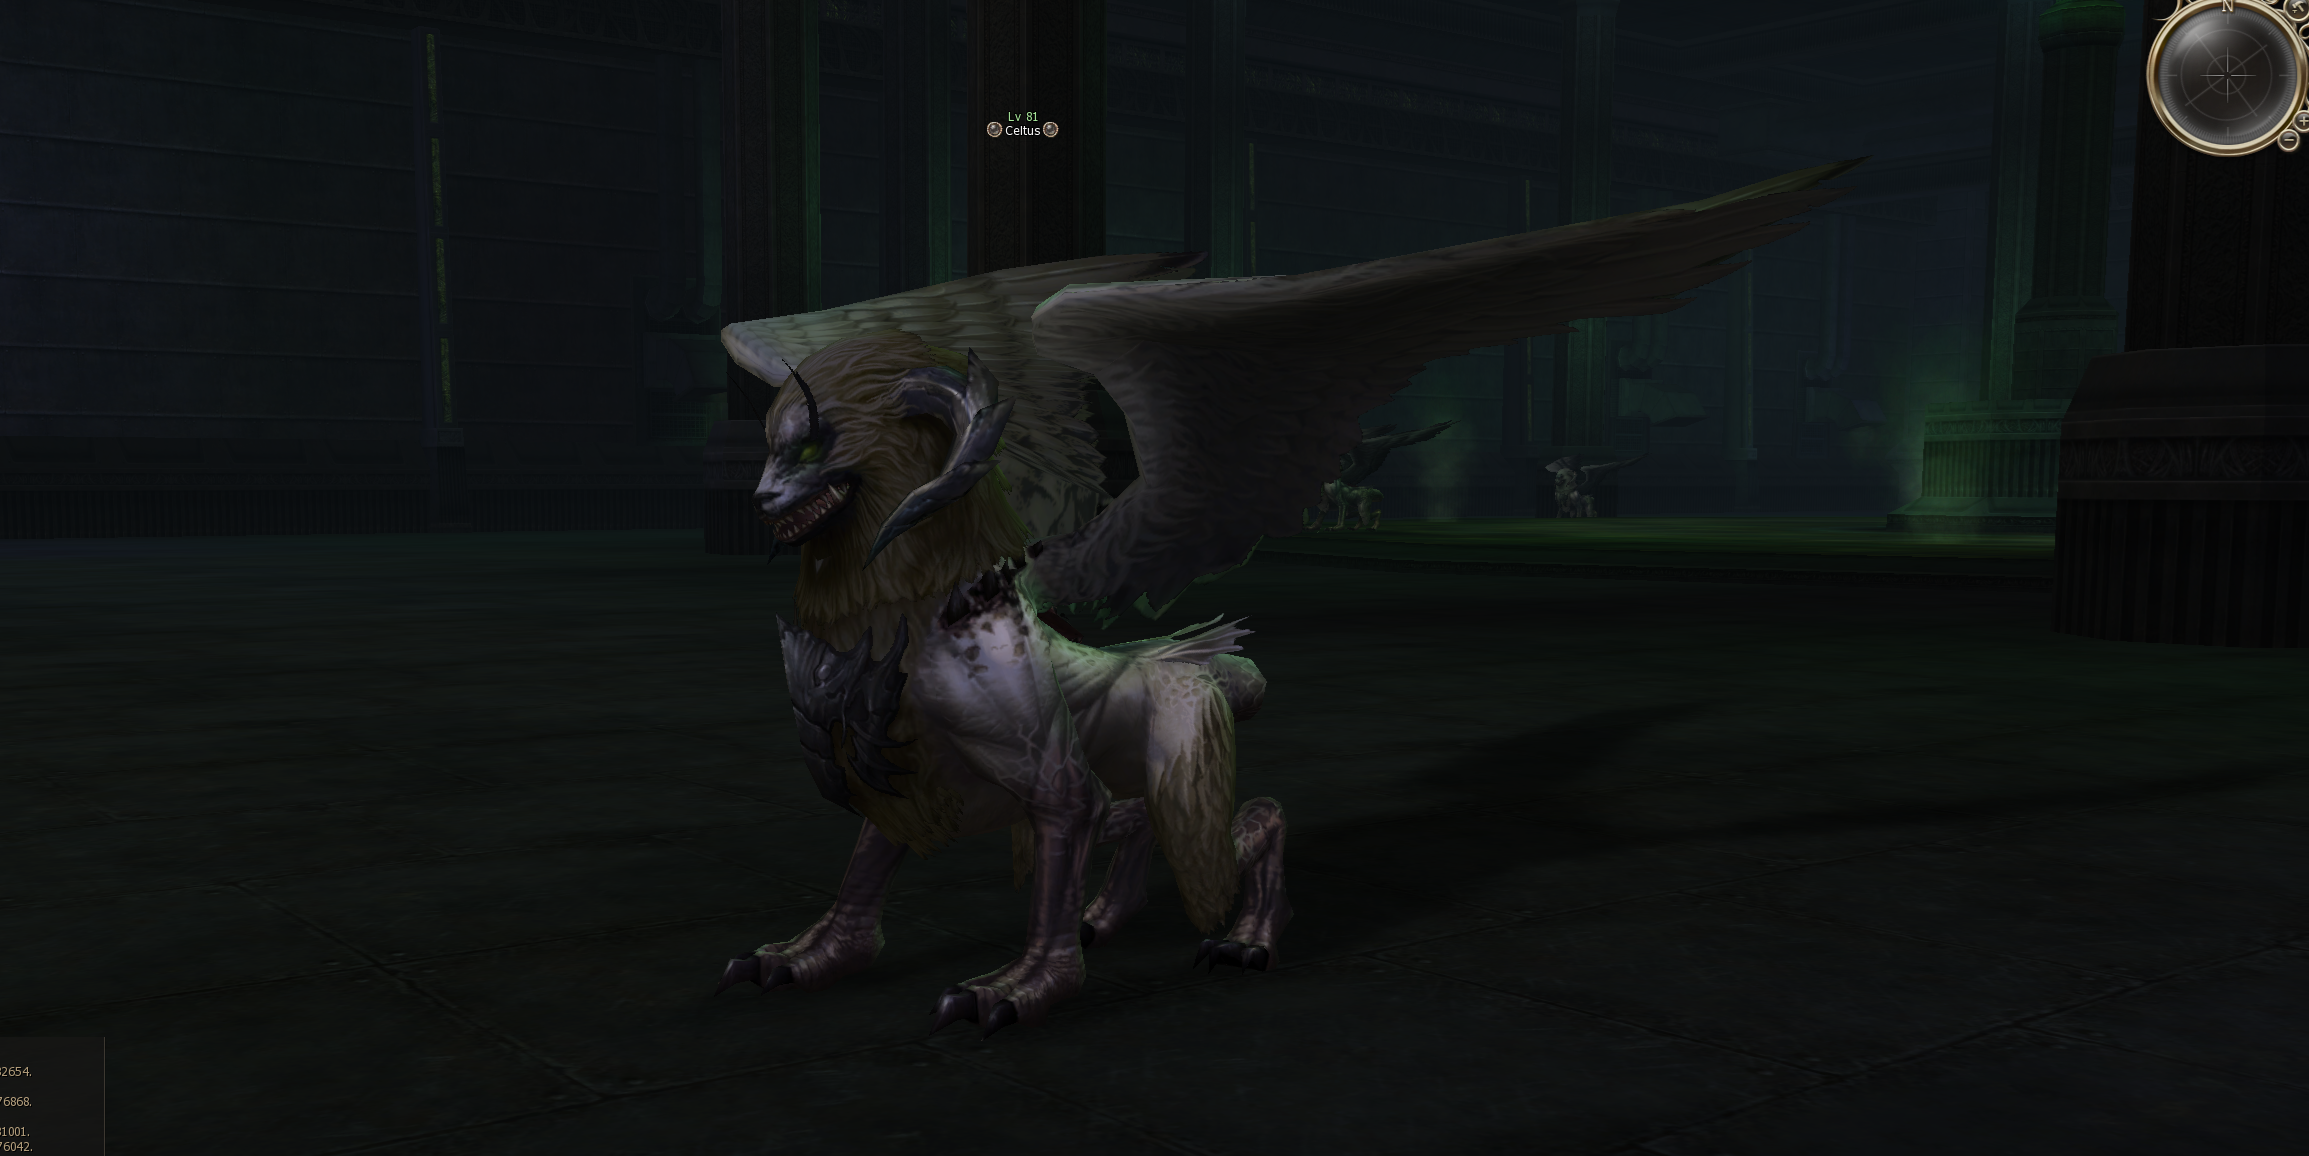
- How it works: the bottle's skill (range ~40 — basically melee distance) only registers on a Chimera or Celtus while its HP is BELOW 10%. Beat the mob down first, then trigger the bottle as the finishing blow — using it on a full-HP target does nothing and just wastes the cooldown. Jak dziala: skill butelki (zasieg ~40 — praktycznie melee) dziala tylko na Chimere lub Celtusa gdy jego HP jest PONIZEJ 10%. Najpierw zbij moba, potem uzyj butelki jako konczacy cios — uzycie na celu z pelnym HP nic nie daje i marnuje cooldown.
- Loot delivery: on a successful catch the Force item drops on the ground, reserved for the caster — pick it up like any normal drop. Nothing lands directly in your inventory. Odbiór lootu: po udanym zlapaniu item Force spada na ziemie, zarezerwowany dla rzucajacego — podnosisz go jak normalny drop. Nic nie trafia bezposrednio do ekwipunku.
The bottle works on both, but they drop completely different items: Butelka dziala na obu, ale wypadaja z nich calkiem inne itemy:
- Chimera (Earth / Darkness / Wind / Fire) — rolls 80% Dim Life Force / 16% Life Force / 4% nothing per successful catch. Most catches give the worthless Dim variant; Life Force itself is the 1-in-6 outcome. Chimera (Earth / Darkness / Wind / Fire) — losuje 80% Dim Life Force / 16% Life Force / 4% nic na udane zlapanie. Wiekszosc zlapan daje bezwartosciowy wariant Dim; sam Life Force to wynik 1 na 6.
- Celtus — drops exactly 1 Contained Life Force per successful catch. Celtus — daje dokladnie 1 Contained Life Force na udane zlapanie.
That makes Celtus the only source of Contained Life Force on the island — and you need 8 of them per Premium Cert. To czyni Celtusa jedynym zrodlem Contained Life Force na wyspie — a potrzebujesz 8 sztuk na Premium Cert.
Stingers are needed in two places: 60 per Standard Certificate (Hude), and a one-time 20 for the Magic Bottle (Kief). Once you own the bottle it is re-usable forever, so practically your only ongoing Stinger cost is the 60 per Standard Cert. Stingery sa potrzebne w dwoch miejscach: 60 na Standard Certificate (Hude) i jednorazowo 20 na Magic Bottle (Kief). Gdy juz masz butelke, jest wielokrotnego uzytku na zawsze, wiec praktycznie jedyny staly koszt Stingerow to 60 na Standard Cert.
04Farming the certificate inputsFarmienie materialow na certyfikaty
Each step of the certificate chain consumes specific items. Here is exactly what you need and where it drops. Kazdy krok lancucha certyfikatow zuzywa okreslone itemy. Oto dokladnie czego potrzebujesz i skad to spada.
Step 1 — Basic Caravan CertificateKrok 1 — Basic Caravan Certificate
Falk — bring 20 Darion's Badge → receive 1 Basic Caravan Certificate.Falk — przynies 20 Darion's Badge → otrzymasz 1 Basic Caravan Certificate.
Darion's Badges are a baseline drop from regular Hellbound mobs around the central island. You will pick them up naturally while levelling.Darion's Badges to podstawowy drop z regularnych mobow Hellbound na centralnej wyspie. Zbierzesz je naturalnie podczas levelowania.
Step 2 — Standard Caravan CertificateKrok 2 — Standard Caravan Certificate
Hude — give him 1 Basic Cert + 30 Mark of Betrayal + 60 Scorpion Stinger → receive 1 Standard Caravan Certificate. Hude — daj mu 1 Basic Cert + 30 Mark of Betrayal + 60 Scorpion Stinger → otrzymasz 1 Standard Caravan Certificate.
| Item | Source | Drop on Project Ortos |
|---|---|---|
| Mark of Betrayal | Wandering Caravan | Own dedicated group, 5% chance |
| Scorpion Poison Stinger | Sand Scorpion | 100% / 1 per kill |
| Scorpion Poison Stinger | Desert Scorpion | 10% / 4–12 per kill |
| Item | Zrodlo | Drop na Project Ortos |
|---|---|---|
| Mark of Betrayal | Wandering Caravan | Osobna grupa dropowa, 5% szans |
| Scorpion Poison Stinger | Sand Scorpion | 100% / 1 na zabicie |
| Scorpion Poison Stinger | Desert Scorpion | 10% / 4–12 na zabicie |
Step 3 — Premium Caravan CertificateKrok 3 — Premium Caravan Certificate
Hude — give him 1 Standard Cert + 30 Life Force + 8 Contained Life Force → receive 1 Premium Caravan Certificate + 1 Map of Hellbound. Hude — daj mu 1 Standard Cert + 30 Life Force + 8 Contained Life Force → otrzymasz 1 Premium Caravan Certificate + 1 Map of Hellbound.
Hude's in-game dialog already displays the updated numbers, so what you read on the NPC matches what he actually charges. Roughly ~46% cheaper Life Force / ~43% cheaper Contained Life Force per Premium Cert than retail. Dialog Hude'a w grze juz pokazuje zaktualizowane liczby, wiec to co czytasz u NPC odpowiada temu co naprawde pobiera. Okolo ~46% tanszy Life Force / ~43% tanszy Contained Life Force na Premium Cert niz na retailu.
| Item | Retail costKoszt retail | Project Ortos costKoszt Project Ortos |
|---|---|---|
| Life Force | 56 | 30 |
| Contained Life Force | 14 | 8 |
| Standard Certificate | 1 | 1 |
Where to farm Life ForcesGdzie farmić Life Forces
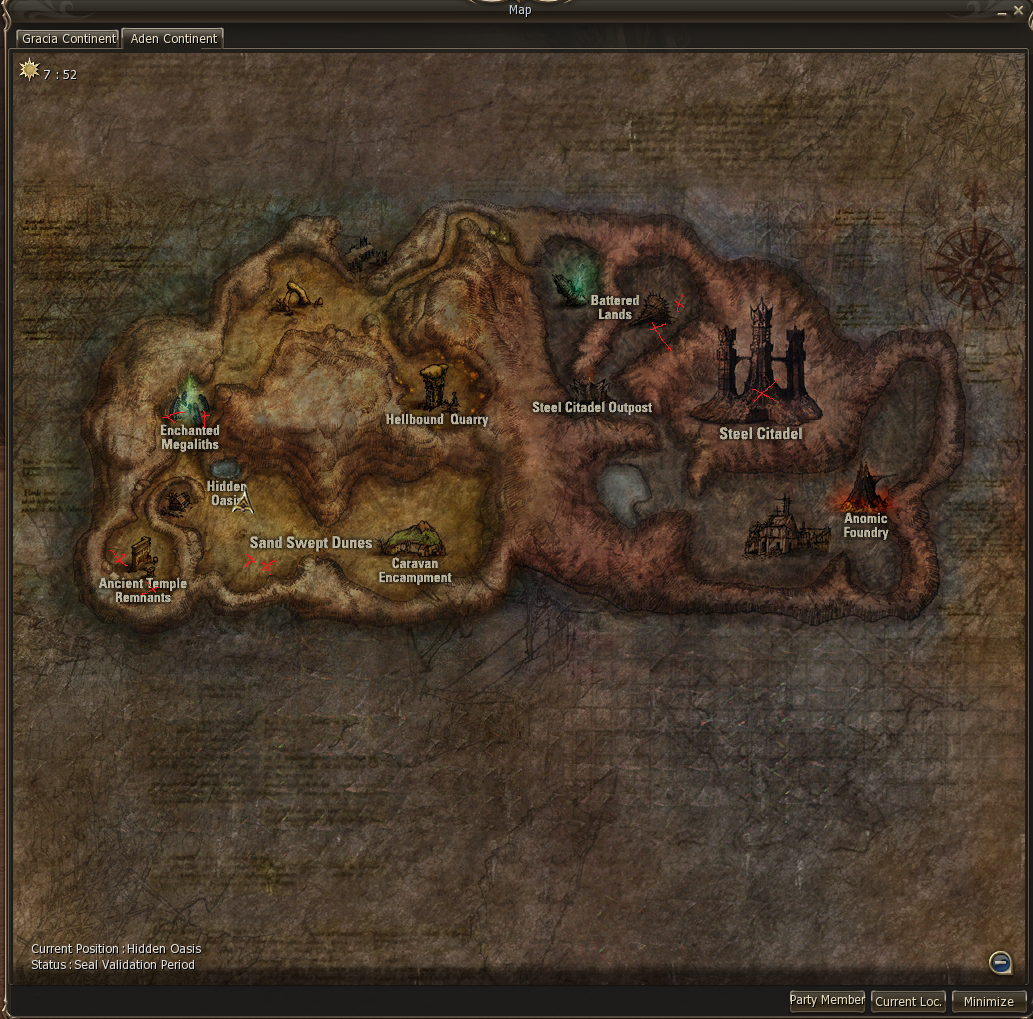
Go to the Battered Lands (south-east region of Hellbound) with a Magic Bottle in your hotbar (see Section 03 — one-time purchase from Kief for 20 Stingers, re-usable forever). Beat the target down to under 10% HP first, then bottle as the finishing blow — the Force item drops on the ground, reserved for you. Idz do Battered Lands (poludniowo-wschodni region Hellbound) z Magic Bottle na hotbarze (patrz Sekcja 03 — jednorazowy zakup od Kiefa za 20 Stingerow, wielokrotnego uzytku na zawsze). Zbij cel do ponizej 10% HP, potem uzyj butelki jako konczacy cios — item Force spada na ziemie, zarezerwowany dla Ciebie.
| NPC | Bottle drop (per successful catch)Drop z butelki (na udane zlapanie) |
|---|---|
| Chimera of Earth | 80% Dim Life Force ×1 16% Life Force ×1 4% nothingnic |
| Chimera of Darkness | |
| Chimera of Wind | |
| Chimera of Fire | |
| Celtus | 100% Contained Life Force ×1 |
Chimeras give you Life Force but they never drop Contained Life Force. The 8 CLF for the Premium Cert come only from Celtus, 1 CLF per successful catch. That means 8 successful Celtus bottles per Premium Cert — and there are only 9 Celtus spawns on the whole island (see Section 06), so nearly every Celtus you find has to count. Chimery daja Life Force, ale nigdy nie dropuja Contained Life Force. 8 CLF na Premium Cert pochodzi wylacznie od Celtusa, 1 CLF na udane zlapanie. To oznacza 8 udanych butelek na Celtusie na Premium Cert — a na calej wyspie jest tylko 9 spawnow Celtusa (patrz Sekcja 06), wiec prawie kazdy znaleziony Celtus musi sie liczyc.
Bonus: Celtus is also the highest-value Stage 12 mob (+10 points per kill, see Section 06) and rolls one of the biggest Tome bags on the island. One Celtus advances every farm goal in this guide simultaneously — it is the single most valuable kill on Hellbound. Bonus: Celtus to takze mob o najwyzszej wartosci Stage 12 (+10 punktow na zabicie, patrz Sekcja 06) i losuje jeden z najwiekszych workow Tome na wyspie. Jeden Celtus posuwa do przodu kazdy cel farmienia w tym poradniku jednoczesnie — to najcenniejsze zabicie na Hellbound.
On retail, Kief converted Dim/Life/Contained Life Force into trust at Hellbound level 7, but Project Ortos starts the island at level 11 and Kief's trust exchange is dead at launch. So we wired a new exchange into Hude: he buys back Dim Life Force you would otherwise discard. Na retailu Kief zamienial Dim/Life/Contained Life Force na trust na Hellbound level 7, ale Project Ortos zaczyna wyspe od poziomu 11 i wymiana trustu u Kiefa jest martwa na starcie. Dlatego podpielismy nowa wymiane do Hude'a: odkupuje Dim Life Force, ktore normalnie wyrzucilbys.
- 20,000 adena per Dim Life Force, paid out instantly on trade.20 000 adeny za Dim Life Force, wyplacane natychmiast przy wymianie.
- While Hellbound is at level 11, each Dim Life Force also contributes 5 points to the global Stage 12 unlock counter — a nice top-up alongside Celtus / Chimera farming.Dopoki Hellbound jest na poziomie 11, kazdy Dim Life Force dodaje takze 5 punktow do globalnego licznika odblokowania Stage 12 — mily bonus obok farmienia Celtusa / Chimery.
- After Stage 12 is unlocked, the counter is zeroed and points stop counting, but Hude still pays the adena.Po odblokowaniu Stage 12 licznik jest zerowany i punkty przestaja sie liczyc, ale Hude nadal placi adene.
- Hellbound below level 11 → Hude refuses; come back later.Hellbound ponizej poziomu 11 → Hude odmawia; wroc pozniej.
The button appears on Hude's dialog once you hold a Standard or Premium Caravan Certificate. Trade dumps your entire DLF stack at once. Przycisk pojawia sie w dialogu Hude'a gdy posiadasz Standard lub Premium Caravan Certificate. Wymiana zrzuca caly stos DLF na raz.
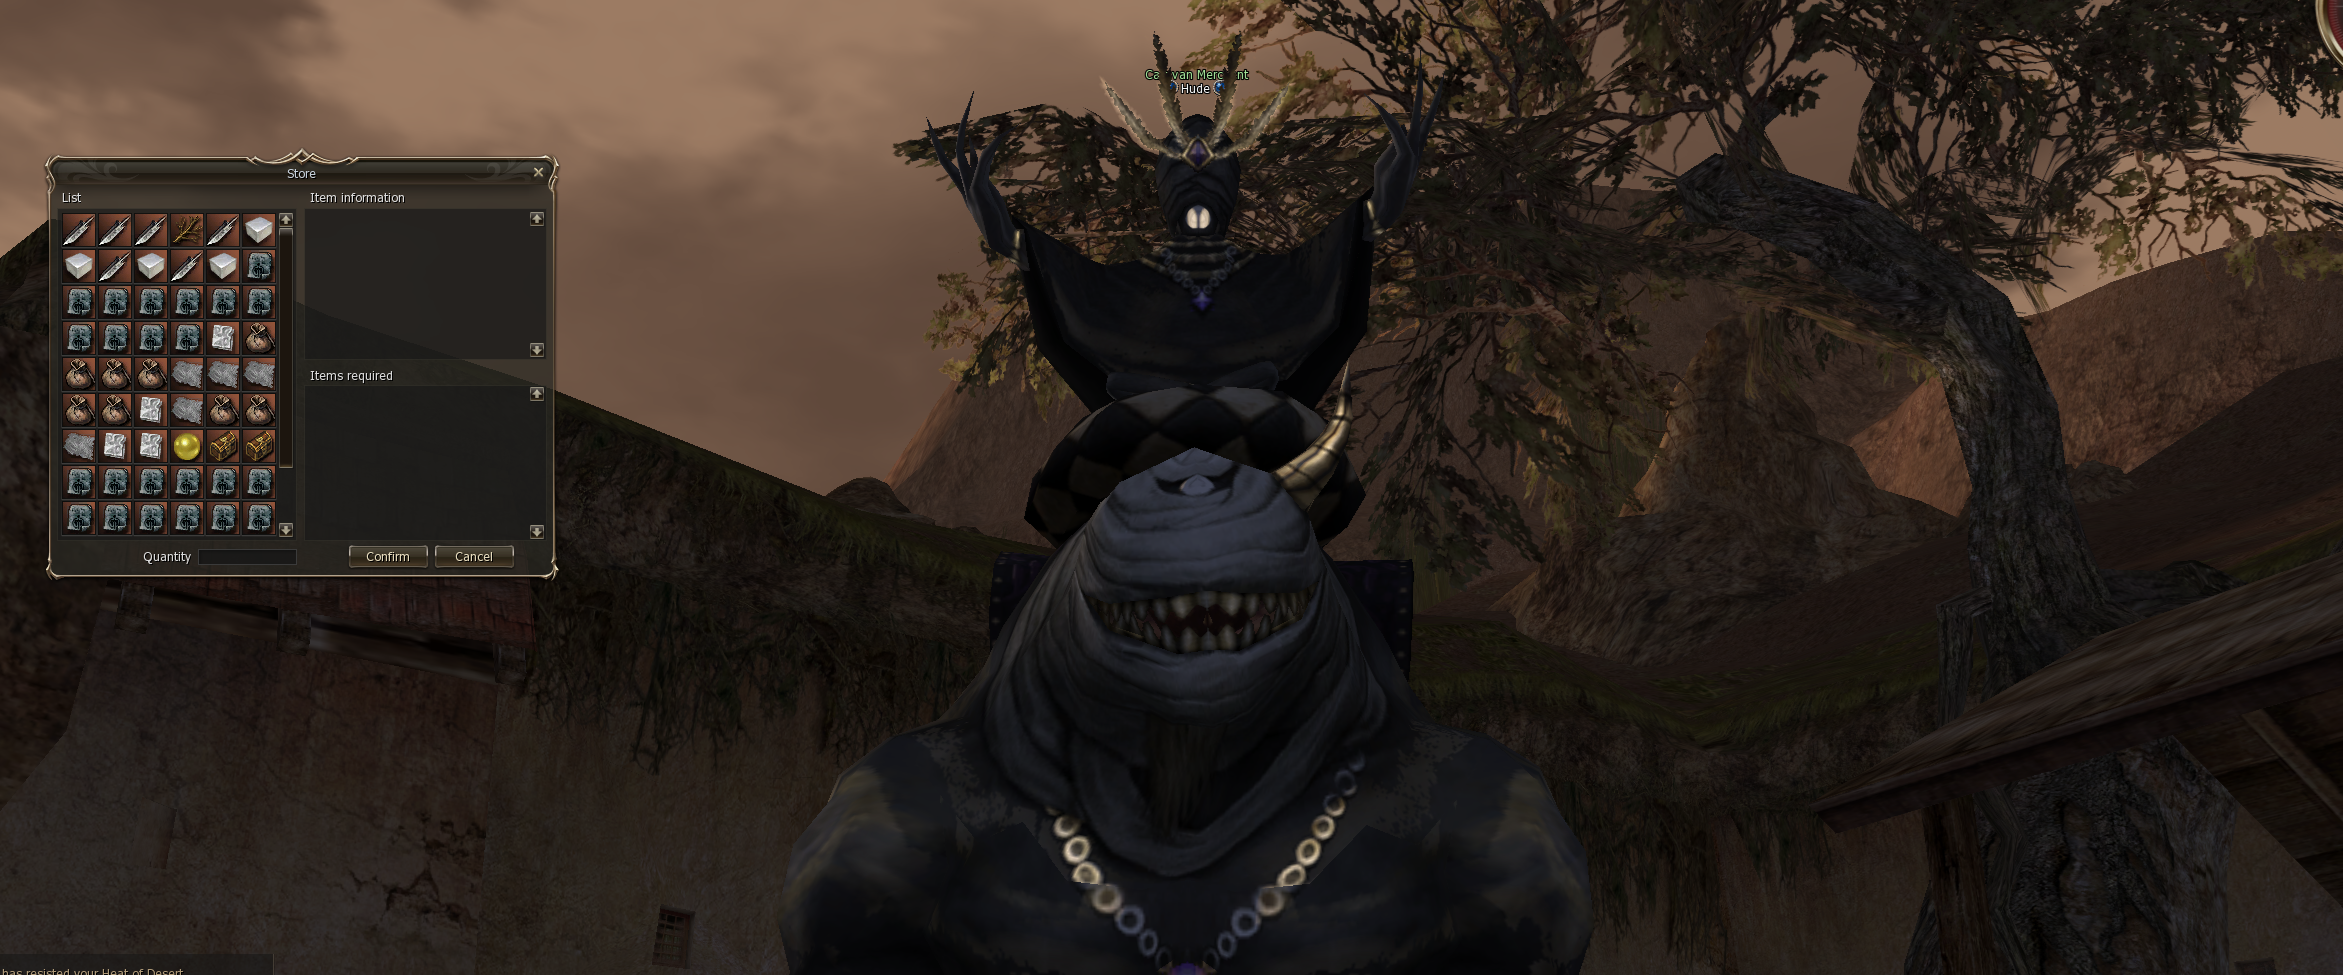
05Sealed Dynasty Pieces — Hude's multi-sellSealed Dynasty Pieces — multi-sell Hude'a
Once you carry a Premium Caravan Certificate, Hude's multisell2
option opens up. This is where you actually buy your Sealed Dynasty recepies and parts.
Gdy nosisz Premium Caravan Certificate, opcja multisell2
u Hude'a staje sie dostepna. Tutaj wlasnie kupujesz swoje przepisy i czesci Sealed Dynasty.
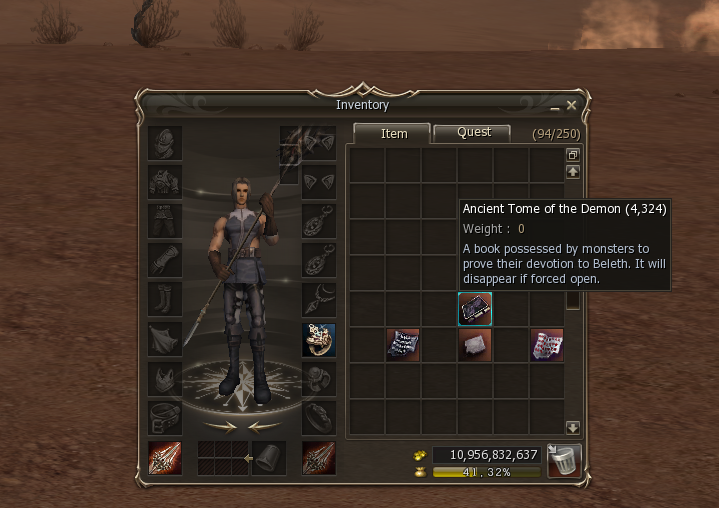
Three currency items, all sourced from one place: Ancient Tome of the Demon. Trzy itemy walutowe, wszystkie z jednego zrodla: Ancient Tome of the Demon.
- Hidden First Page
- Hidden Second Page
- Demon Contract Fragment
How to get the currency — open TomesJak zdobyc walute — otwieraj Tomy
Ancient Tome of the Demon is a capsule item. Right-click it in your inventory: it consumes itself and rolls one of three outputs: Ancient Tome of the Demon to item typu capsule. Kliknij go prawym przyciskiem w ekwipunku: zuzywa sie i losuje jeden z trzech wynikow:
| Roll | Drop | Amount |
|---|---|---|
| 40% | Hidden First Page | 1 |
| 50% | Hidden Second Page | 2 |
| 10% | Demon Contract Fragment | 1 |
| Losowanie | Drop | Ilosc |
|---|---|---|
| 40% | Hidden First Page | 1 |
| 50% | Hidden Second Page | 2 |
| 10% | Demon Contract Fragment | 1 |
So Demon Contract Fragments are the rarest output — they are usually the bottleneck. Save up Tomes and burn them in big batches; opening one at a time wastes inventory space. Wiec Demon Contract Fragments to najrzadszy wynik — zwykle sa waskim gardlem. Zbieraj Tomy i otwieraj je w duzych partiach; otwieranie po jednym marnuje miejsce w ekwipunku.
Where Tomes dropSkad wypadaja Tomy
Ancient Tome of the Demon drops on practically the entire Hellbound mob roster (you do not need to step into the Steel Citadel / Tower of Naia to farm it). Best targets on the main island, sorted by raw kill efficiency: Ancient Tome of the Demon wypada z praktycznie calego roster mobow Hellbound ( nie musisz wchodzic do Steel Citadel / Tower of Naia zeby go farmić). Najlepsze cele na glownej wyspie, posortowane wg efektywnosci zabijania:
| NPC | Tome drop (per kill)Drop Tome (na zabicie) |
|---|---|
| Celtus | 30–90 at 88.42% — best per-kill, also +10 Stage 12 points30–90 przy 88.42% — najlepszy na zabicie, takze +10 punktow Stage 12 |
| Hellinark (Naia's Guardian) | 70–220 at 86.96% — huge bag, but rare spawn70–220 przy 86.96% — ogromna paczka, ale rzadki spawn |
| Arcane Watchman | 10–30 atprzy 72.84% |
| Junior Watchman / Junior Summoner | 5–15 at 72.10% — easy farm, dense spawns5–15 przy 72.10% — latwy farm, geste spawny |
| Keltas | 20–60 atprzy 70.80% |
| Arcane Scout | 10–30 atprzy 70.54% |
| Chimera (Earth / Darkness / Wind / Fire) | 10–30 atprzy 61–64% |
| Quarry Foreman | 10–30 atprzy 59.77% |
| Quarry Patrolman / Sandstorm | 5–15 atprzy 56–57% |
| Sand Scorpion / Desert Scorpion | 5–15 atprzy 56–57% |
Many other Hellbound mobs (Subjugated/Charmed Native, Wandering Caravan, Blind Huntsman/Watchman, Sand Devil, Desiccator, Darion's Enforcer/Executioner, Quarry Bowman/Supervisor, Remnant Wraith, Enceinte Defender, etc.) also drop Tomes in smaller stacks (5 fixed at 10–60%) — anything you kill while doing other goals feeds the Sealed Dynasty pipeline. Wiele innych mobow Hellbound (Subjugated/Charmed Native, Wandering Caravan, Blind Huntsman/Watchman, Sand Devil, Desiccator, Darion's Enforcer/Executioner, Quarry Bowman/Supervisor, Remnant Wraith, Enceinte Defender itp.) takze dropuje Tomy w mniejszych stosach (5 sztuk przy 10–60%) — cokolwiek zabijesz realizujac inne cele, zasila pipeline Sealed Dynasty.
Celtus and Chimeras are the same mobs you grind for the Stage 12 unlock (see Section 06). One kill gives you both the Stage 12 points and one of the highest Tome rolls on the island — they are the most time-efficient single targets in the whole guide. Celtus i Chimery to te same moby, ktore grindoisz pod odblokowanie Stage 12 (patrz Sekcja 06). Jedno zabicie daje zarowno punkty Stage 12 jak i jeden z najwyzszych rzutow Tome na wyspie — sa to najbardziej efektywne czasowo cele w calym poradniku.
On retail, Tomes drop in batches of 1–3. On Project Ortos, the amounts above are roughly 5× retail at the same ~55% chance — directly speeding up your whole Sealed Dynasty pipeline. Na retailu Tomy wypadaja w paczkach po 1–3. Na Project Ortos powyzsze ilosci to okolo 5× retail przy tej samej ~55% szansie — co bezposrednio przyspiesza caly pipeline Sealed Dynasty.
Sample multi-sell prices (per Sealed Dynasty piece)Przykladowe ceny multi-sellu (na czesc Sealed Dynasty)
WeaponsBronie
| Sealed Dynasty pieceCzesc Sealed Dynasty | Hidden 1st Page | Hidden 2nd Page | Demon Contract Fragment |
|---|---|---|---|
| Any weapon piece — Sword / Blade / Phantom / Bow / Knife / Halberd / Cudgel / Crusher / Mace / Staff / Bagh-NakhDowolna czesc broni — Sword / Blade / Phantom / Bow / Knife / Halberd / Cudgel / Crusher / Mace / Staff / Bagh-Nakh | 68 | 168 | 17 |
| Recipe: any Sealed Dynasty weapon (60%)Przepis: dowolna bron Sealed Dynasty (60%) | 612 | 1530 | 153 |
Heavy armorCiezka zbroja
| PieceCzesc | Hidden 1st Page | Hidden 2nd Page | Demon Contract Fragment |
|---|---|---|---|
| Sealed Dynasty Breast Plate | 41 | 104 | 10 |
| Sealed Dynasty Gaiters | 28 | 72 | 7 |
| Sealed Dynasty Helmet | 16 | 42 | 5 |
| Sealed Dynasty Gauntlet | 13 | 30 | 4 |
| Sealed Dynasty Boots | 13 | 30 | 4 |
| Recipe: Breast Plate (60%) | 266 | 661 | 67 |
| Recipe: Gaiters (60%) | 166 | 413 | 42 |
| Recipe: Helmet (60%) | 100 | 248 | 25 |
| Recipe: Gauntlet (60%) | 66 | 164 | 17 |
| Recipe: Boots (60%) | 66 | 164 | 17 |
Light armorLekka zbroja
| PieceCzesc | Hidden 1st Page | Hidden 2nd Page | Demon Contract Fragment |
|---|---|---|---|
| Sealed Dynasty Leather Armor | 32 | 78 | 8 |
| Sealed Dynasty Leather Leggings | 22 | 53 | 6 |
| Sealed Dynasty Leather Helmet | 18 | 43 | 4 |
| Sealed Dynasty Leather Gloves | 13 | 30 | 4 |
| Sealed Dynasty Leather Boots | 13 | 30 | 4 |
| Recipe: Leather Armor (60%) | 200 | 498 | 50 |
| Recipe: Leather Leggings (60%) | 125 | 314 | 31 |
| Recipe: Leather Helmet (60%) | 100 | 249 | 25 |
| Recipe: Leather Gloves (60%) | 66 | 164 | 17 |
| Recipe: Leather Boots (60%) | 66 | 164 | 17 |
Robe
| PieceCzesc | Hidden 1st Page | Hidden 2nd Page | Demon Contract Fragment |
|---|---|---|---|
| Sealed Dynasty Tunic | 32 | 78 | 8 |
| Sealed Dynasty Stockings | 22 | 53 | 6 |
| Sealed Dynasty Circlet | 16 | 42 | 5 |
| Sealed Dynasty Gloves | 12 | 30 | 4 |
| Sealed Dynasty Shoes | 12 | 30 | 4 |
| Recipe: Tunic (60%) | 200 | 498 | 50 |
| Recipe: Stockings (60%) | 125 | 313 | 31 |
| Recipe: Circlet (60%) | 100 | 249 | 25 |
| Recipe: Gloves (60%) | 67 | 161 | 17 |
| Recipe: Shoes (60%) | 67 | 161 | 17 |
Shield & Sigil
| PieceCzesc | Hidden 1st Page | Hidden 2nd Page | Demon Contract Fragment |
|---|---|---|---|
| Sealed Dynasty Shield | 12 | 30 | 4 |
| Sealed Dynasty Sigil | 12 | 30 | 4 |
| Recipe: Shield (60%) | 70 | 179 | 17 |
| Recipe: Sigil (60%) | 70 | 179 | 17 |
JewelryBizuteria
| PieceCzesc | Hidden 1st Page | Hidden 2nd Page | Demon Contract Fragment |
|---|---|---|---|
| Sealed Dynasty Earring Gemstone | 12 | 35 | 4 |
| Sealed Dynasty Necklace Gemstone | 17 | 42 | 5 |
| Sealed Dynasty Ring Gemstone | 10 | 25 | 2 |
| Recipe: Earrings (70%) | 66 | 162 | 16 |
| Recipe: Necklace (70%) | 88 | 220 | 21 |
| Recipe: Ring (70%) | 42 | 110 | 11 |
Recipes craft at 60% for armor / weapons and 70% for jewelry. The exchange uses Hidden Pages + Demon Contract Fragments — your Premium Caravan Certificate stays in your inventory the whole time and just keeps the menu open. Przepisy craftuja z szansa 60% na zbroje / bronie i 70% na bizuterie. Wymiana uzywa Hidden Pages + Demon Contract Fragments — Twoj Premium Caravan Certificate zostaje w ekwipunku caly czas i tylko trzyma menu otwarte.
06Unlocking Stage 12 (community goal)Odblokowanie Stage 12 (cel spolecznosci)
Stage 12 is the brand new servet stage 2 tier on Project Ortos that goes beyond the retail cap of Hellbound level 11. Once unlocked, it opens up the Beleth raid, and the Anomic Foundry / Icarus chain. Stage 12 to zupelnie nowy tier stage 2 serwera na Project Ortos, ktory wykracza poza retailowy cap Hellbound level 11. Po odblokowaniu otwiera raid na Beletha i lancuch Anomic Foundry / Icarus.
Stage 12 is NOT reached by accumulating trust like the previous levels. Auto trust-level-up is hard-capped at level 11. The unlock is a kill-counter — every player on the server contributes to it. Stage 12 NIE osiaga sie gromadzac trust jak poprzednie poziomy. Automatyczny trust-level-up jest sztywno ograniczony do poziomu 11. Odblokowanie to licznik zabic — kazdy gracz na serwerze przyczynia sie do niego.
How the kill counter worksJak dziala licznik zabic
| What counts | Points |
|---|---|
| Any registered Hellbound mob (kill) | +1 |
| Chimera Earth / Darkness / Wind / Fire (kill) | +5 |
| Celtus (kill) | +10 |
| Dim Life Force traded to Hude (per DLF) | +5 |
| Co sie liczy | Punkty |
|---|---|
| Dowolny zarejestrowany mob Hellbound (zabicie) | +1 |
| Chimera Earth / Darkness / Wind / Fire (zabicie) | +5 |
| Celtus (zabicie) | +10 |
| Dim Life Force wymieniony u Hude'a (za DLF) | +5 |
Unlock threshold: 400 000 points. Once reached, the server automatically promotes Hellbound to level 12 and announces it globally. The DLF trade is the only non-kill source — see Section 04 (Hude's Dim Life Force trade-in) for details. Prog odblokowania: 400 000 punktow. Po osiagnieciu serwer automatycznie awansuje Hellbound do poziomu 12 i oglasza to globalnie. Wymiana DLF to jedyne zrodlo niezwiazane z zabijaniem — patrz Sekcja 04 (wymiana Dim Life Force u Hude'a) po szczegoly.
Bottle-farming Chimeras gives you ~80% Dim Life Force per successful catch. Without the DLF trade those would be vendor trash — instead, every DLF you turn in at Hude is 20 000 adena + 5 Stage 12 points. So one Chimera bottle session feeds the Stage 12 counter twice: once via the kill (+5), once via the DLF you loot (+5 per DLF when traded). At 5 points/DLF the trade alone covers the unlock with 80 000 DLFs — practical only as a top-up alongside Celtus and Chimera kills, but every bottle session adds free progress. Farmienie Chimer butelka daje ~80% Dim Life Force na udane zlapanie. Bez wymiany DLF to bylby smieci — zamiast tego, kazdy DLF oddany u Hude'a to 20 000 adeny + 5 punktow Stage 12. Wiec jedna sesja butelkowa na Chimerach zasila licznik Stage 12 podwojnie: raz przez zabicie (+5), raz przez zlootowany DLF (+5 za DLF przy wymianie). Przy 5 punktach/DLF sama wymiana pokrywa odblokowanie przy 80 000 DLF — praktyczne tylko jako dolatek obok zabijania Celtusa i Chimer, ale kazda sesja butelkowa dodaje darmowy postep.
Checking the progressSprawdzanie postepu
Type .hellbound in chat. While the island is at level 11, the message includes
the Stage 12 unlock counter:
Wpisz .hellbound na czacie. Dopoki wyspa jest na poziomie 11, wiadomosc zawiera
licznik odblokowania Stage 12:
Hellbound level: 11 trust: 4000123 | Stage 12 progress: 12345 / 400000
Celtus — the optimal grind targetCeltus — optymalny cel do grindowania
Celtus is a level-80+ rare elite that gives +10 points per kill. We have expanded the spawns and normalised the respawn timer specifically to make Stage 12 farming viable: Celtus to rzadki elite poziomu 80+, ktory daje +10 punktow na zabicie. Rozszerylismy spawny i znormalizowalismy timer respawnu specjalnie aby farm Stage 12 byl realny:
- 3 retail spawns active at the current Hellbound stage — respawn timer normalised to a fixed 2-hour cycle (was 90–150 min random on retail). A 4th retail spawn exists in the data but is stage-locked to HB level 7–8 only, so on a server already past that point it never appears in-game.3 retailowe spawny aktywne na obecnym etapie Hellbound — timer respawnu znormalizowany do stalych 2 godzin (bylo 90–150 min losowo na retailu). 4. retailowy spawn istnieje w danych, ale jest zablokowany do HB level 7–8, wiec na serwerze ktory juz to przekroczyl nigdy nie pojawia sie w grze.
- + 6 NEW custom spawns — also fixed 2-hour respawn.+ 6 NOWYCH niestandardowych spawnow — rowniez staly 2-godzinny respawn.
- = 9 Celtus total on the island in practice.= 9 Celtusow lacznie na wyspie w praktyce.
Custom spawn areas (the 6 added on top of retail):Niestandardowe obszary spawnow (6 dodanych ponad retail):
- 2× near the Arcane Scout area2× kolo obszaru Arcane Scout
- 2× in the scorpions desert2× na pustyni skorpionow
- 2× near the Remnant Wraith area2× kolo obszaru Remnant Wraith
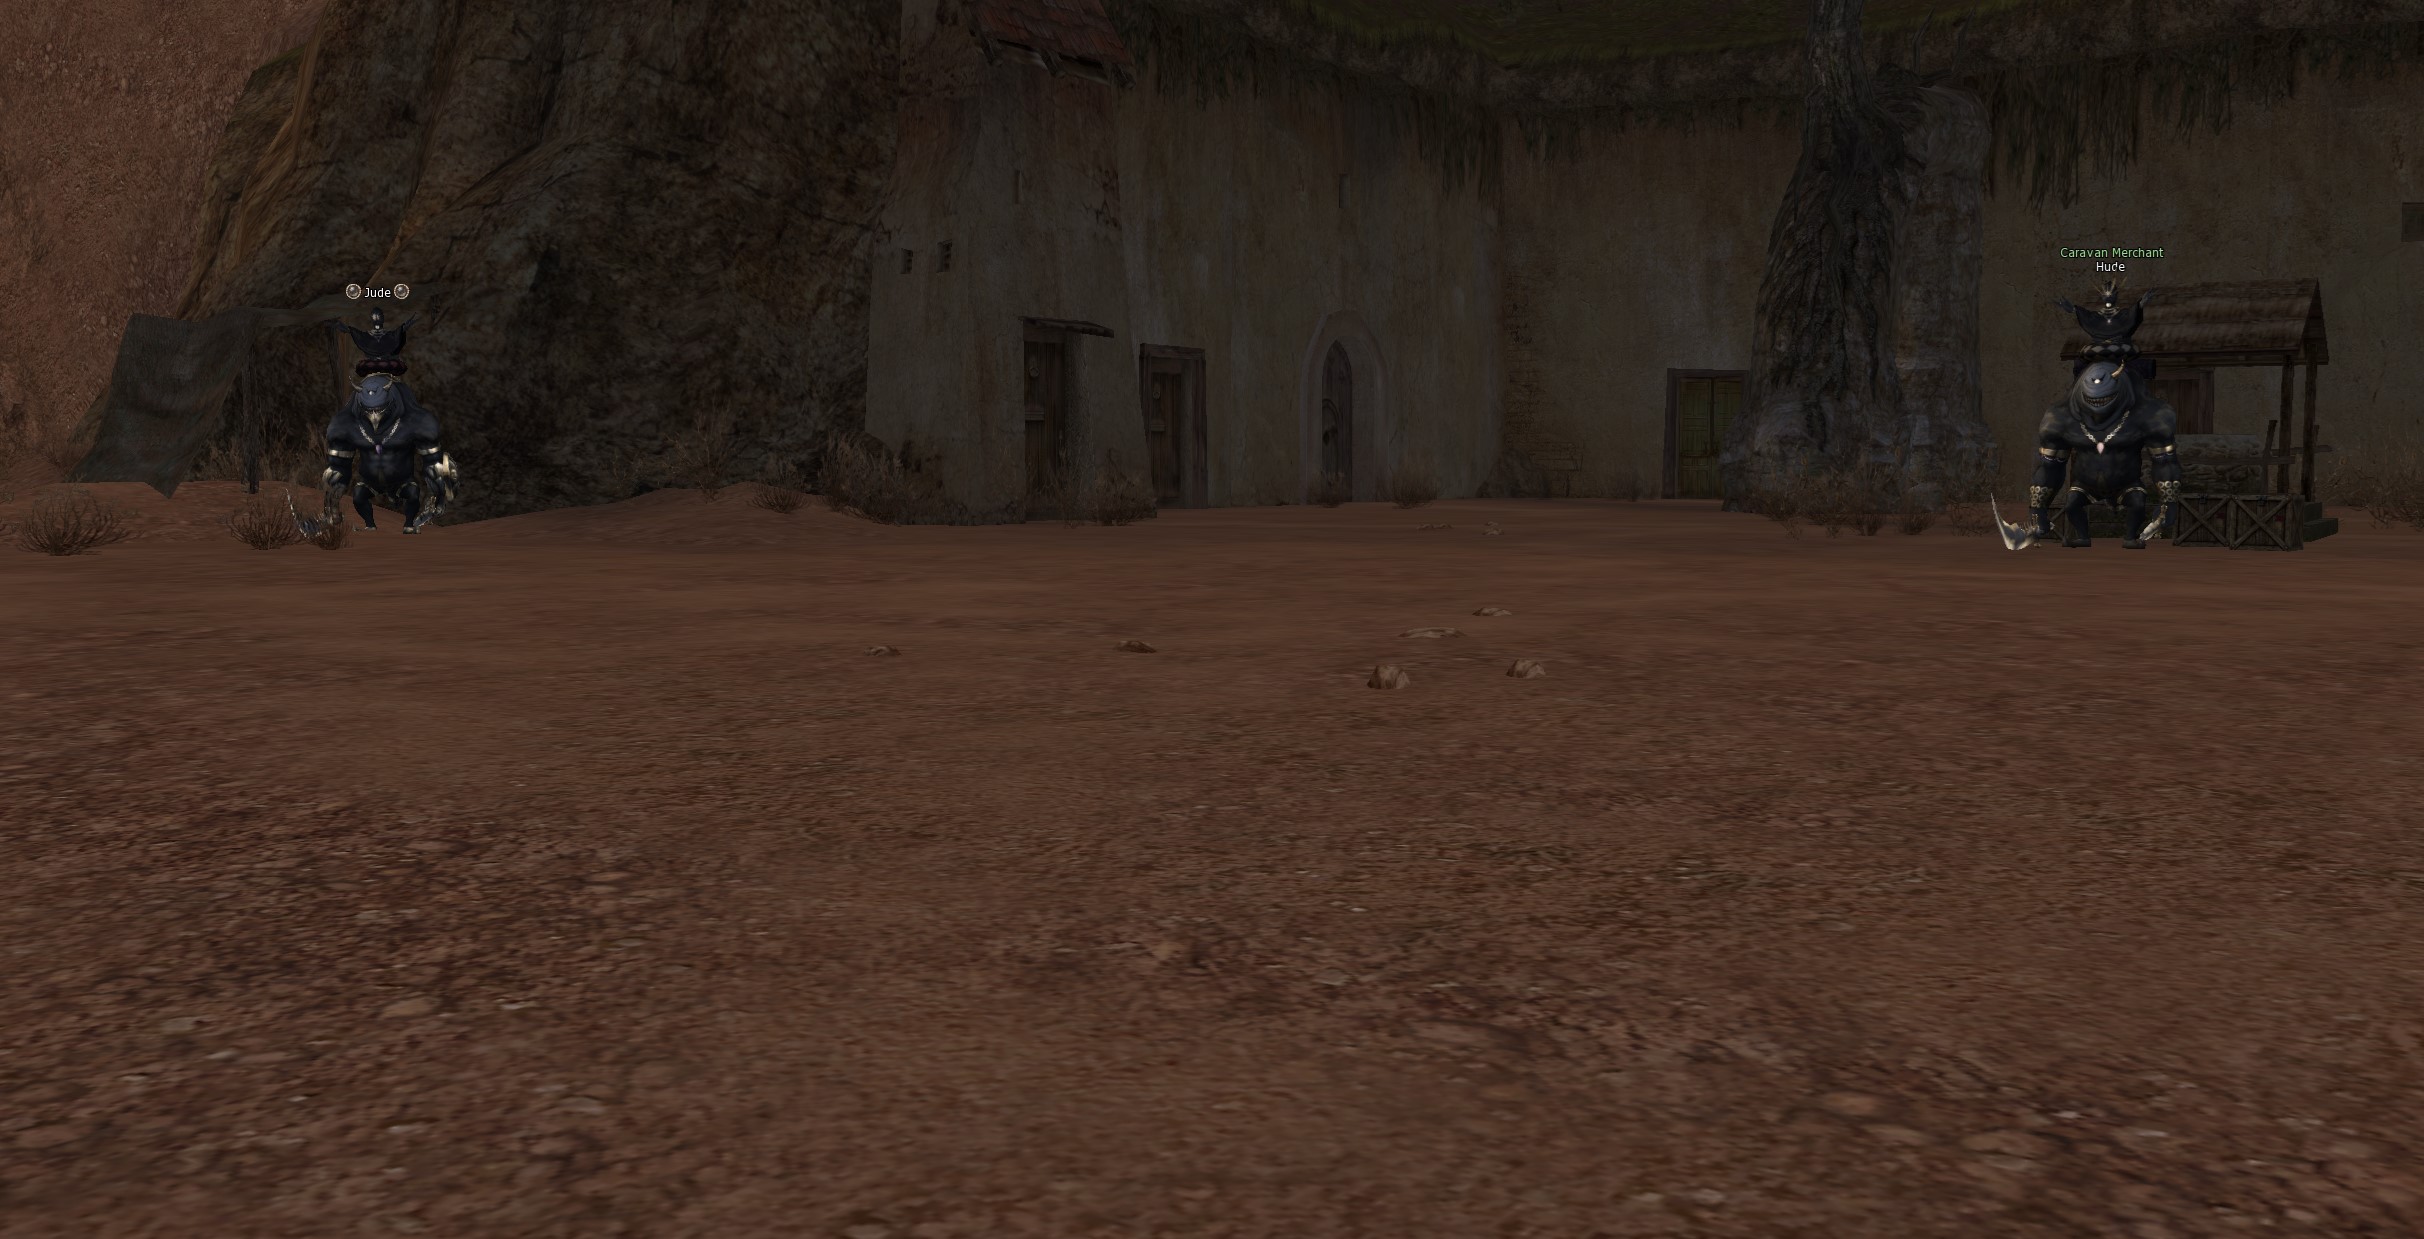
07Icarus weapons (Anomic Foundry & Jude)Bronie Icarus (Anomic Foundry i Jude)
Once Stage 12 is unlocked, the path to Icarus weapons opens up. The chain is handled by Quest — Jude's Request. Po odblokowaniu Stage 12 otwiera sie sciezka do broni Icarus. Lancuch obsluguje Quest — Jude's Request.
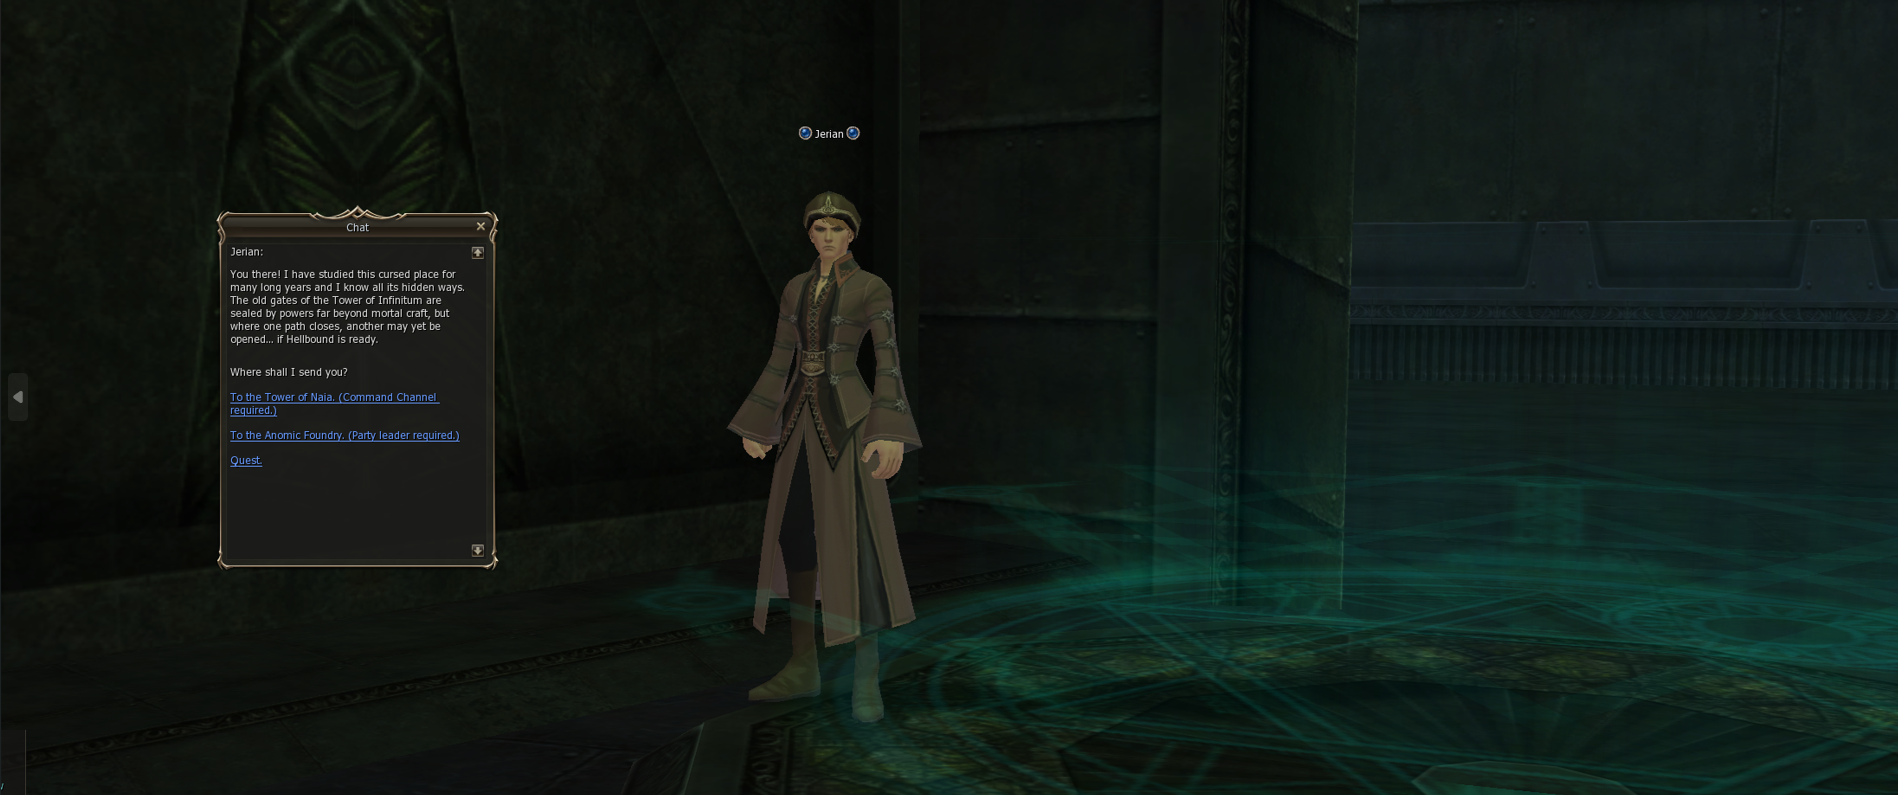
Step 1 — Get to the Anomic FoundryKrok 1 — Dostanie sie do Anomic Foundry
Talk to Jerian in the Tower of Infinitum. He offers two teleport options — choose Anomic Foundry. Porozmawiaj z Jerian w Tower of Infinitum. Oferuje dwie opcje teleportu — wybierz Anomic Foundry.
You must be a party leader of a party with at least 2 members to be teleported to the Foundry.Musisz byc liderem party z przynajmniej 2 czlonkami, zeby zostac teleportowanym do Foundry.

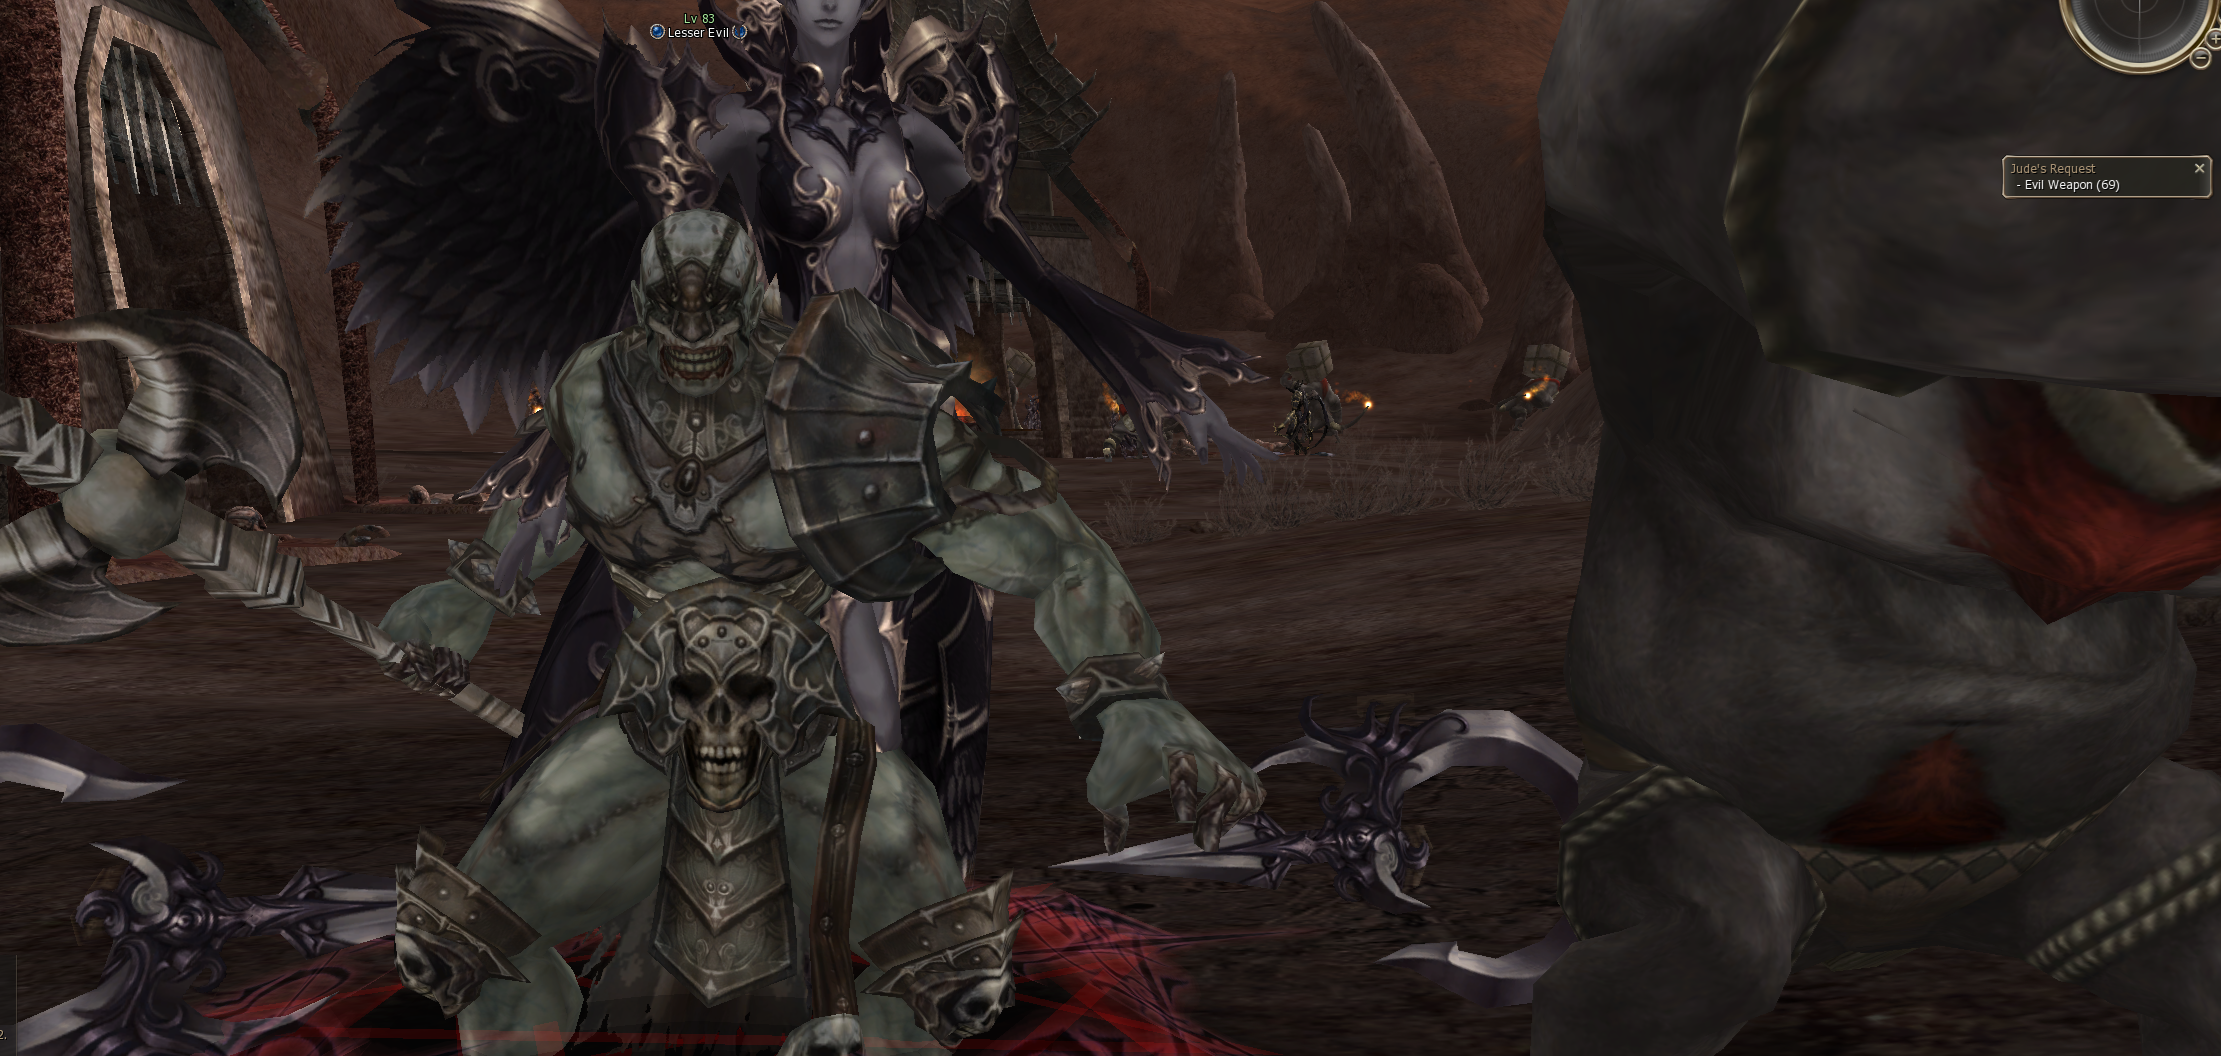
Step 2 — Spawn Lesser / Greater EvilKrok 2 — Spawn Lesser / Greater Evil
Inside the Foundry, hunt the regular workforce: Wewnatrz Foundry poluj na zwyklych robotnikow:
| NPC | Lesser Evil chance | Greater Evil chance |
|---|---|---|
| Foundry Laborer (HP × 3 — ~11.5k) | 5% | 3% |
| Foundry Foreman | 10% | 7% |
| NPC | Szansa na Lesser Evil | Szansa na Greater Evil |
|---|---|---|
| Foundry Laborer (HP × 3 — ~11.5k) | 5% | 3% |
| Foundry Foreman | 10% | 7% |
On death, a Lesser or Greater Evil spawns directly on the corpse. Both rolls are independent — the same kill can trigger both. Po smierci Lesser lub Greater Evil spawnuje sie bezposrednio na zwlokach. Oba rzuty sa niezalezne — to samo zabicie moze uruchomic oba.
Lesser / Greater Evil do not spawn anywhere statically on the map. The corpse-spawn is the only way to summon them. The legacy retail system (timer-based respawn + Laborer alarm + teleport conversion) has been removed. Lesser / Greater Evil nie spawnuja sie nigdzie statycznie na mapie. Spawn na zwlokach to jedyny sposob ich przyzwania. Stary retailowy system (respawn na timerze + alarm Laborera + konwersja teleportu) zostal usuniety.
Step 3 — Drop Evil WeaponsKrok 3 — Drop Evil Weapons
| NPC | Base drop | Bonus (30%) | Spoil | Max per kill |
|---|---|---|---|---|
| Lesser Evil | 5 EW | +2 EW | +2 EW | 9 EW |
| Greater Evil | 10 EW | +2 EW | +5 EW | 17 EW |
| NPC | Bazowy drop | Bonus (30%) | Spoil | Max na zabicie |
|---|---|---|---|---|
| Lesser Evil | 5 EW | +2 EW | +2 EW | 9 EW |
| Greater Evil | 10 EW | +2 EW | +5 EW | 17 EW |
Drops follow your party's loot rules (Random / Round Robin). Dropy podlegaja zasadom lootu Twojej party (Random / Round Robin).
On retail, Evil Weapon is a quest item — locked to your inventory. On Project Ortos it is a regular tradable item: you can trade, drop, and sell it between players freely. This means Foundry farmers can sell EW stacks to crafters and skip Jude entirely if they prefer. Na retailu Evil Weapon to quest item — zablokowany w ekwipunku. Na Project Ortos to zwykly handlowalny item: mozesz go handlowac, wyrzucac i sprzedawac miedzy graczami swobodnie. Oznacza to ze farmerzy Foundry moga sprzedawac stosy EW crafterom i calkowicie pominac Jude'a jesli wola.
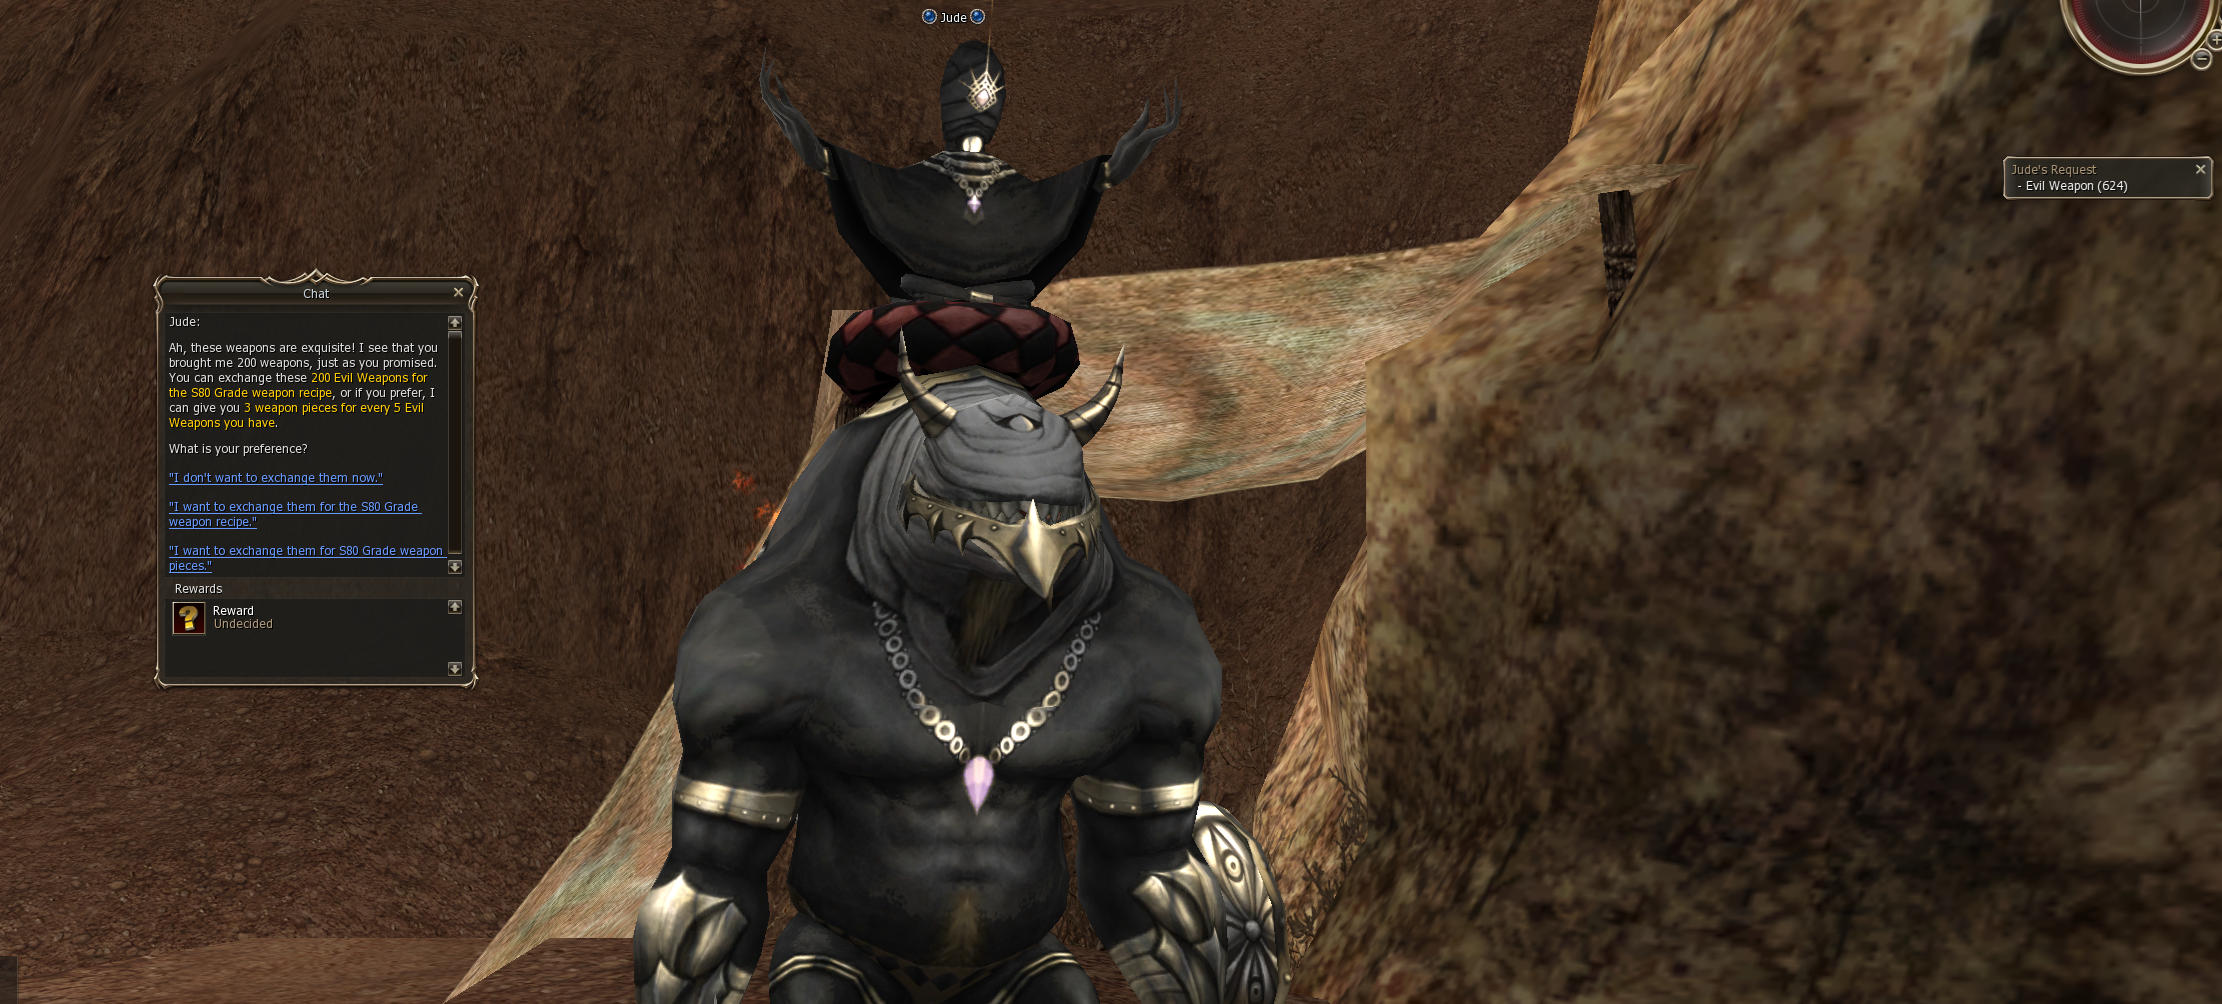
Step 4 — Trade Evil Weapons with JudeKrok 4 — Wymiana Evil Weapons u Jude'a
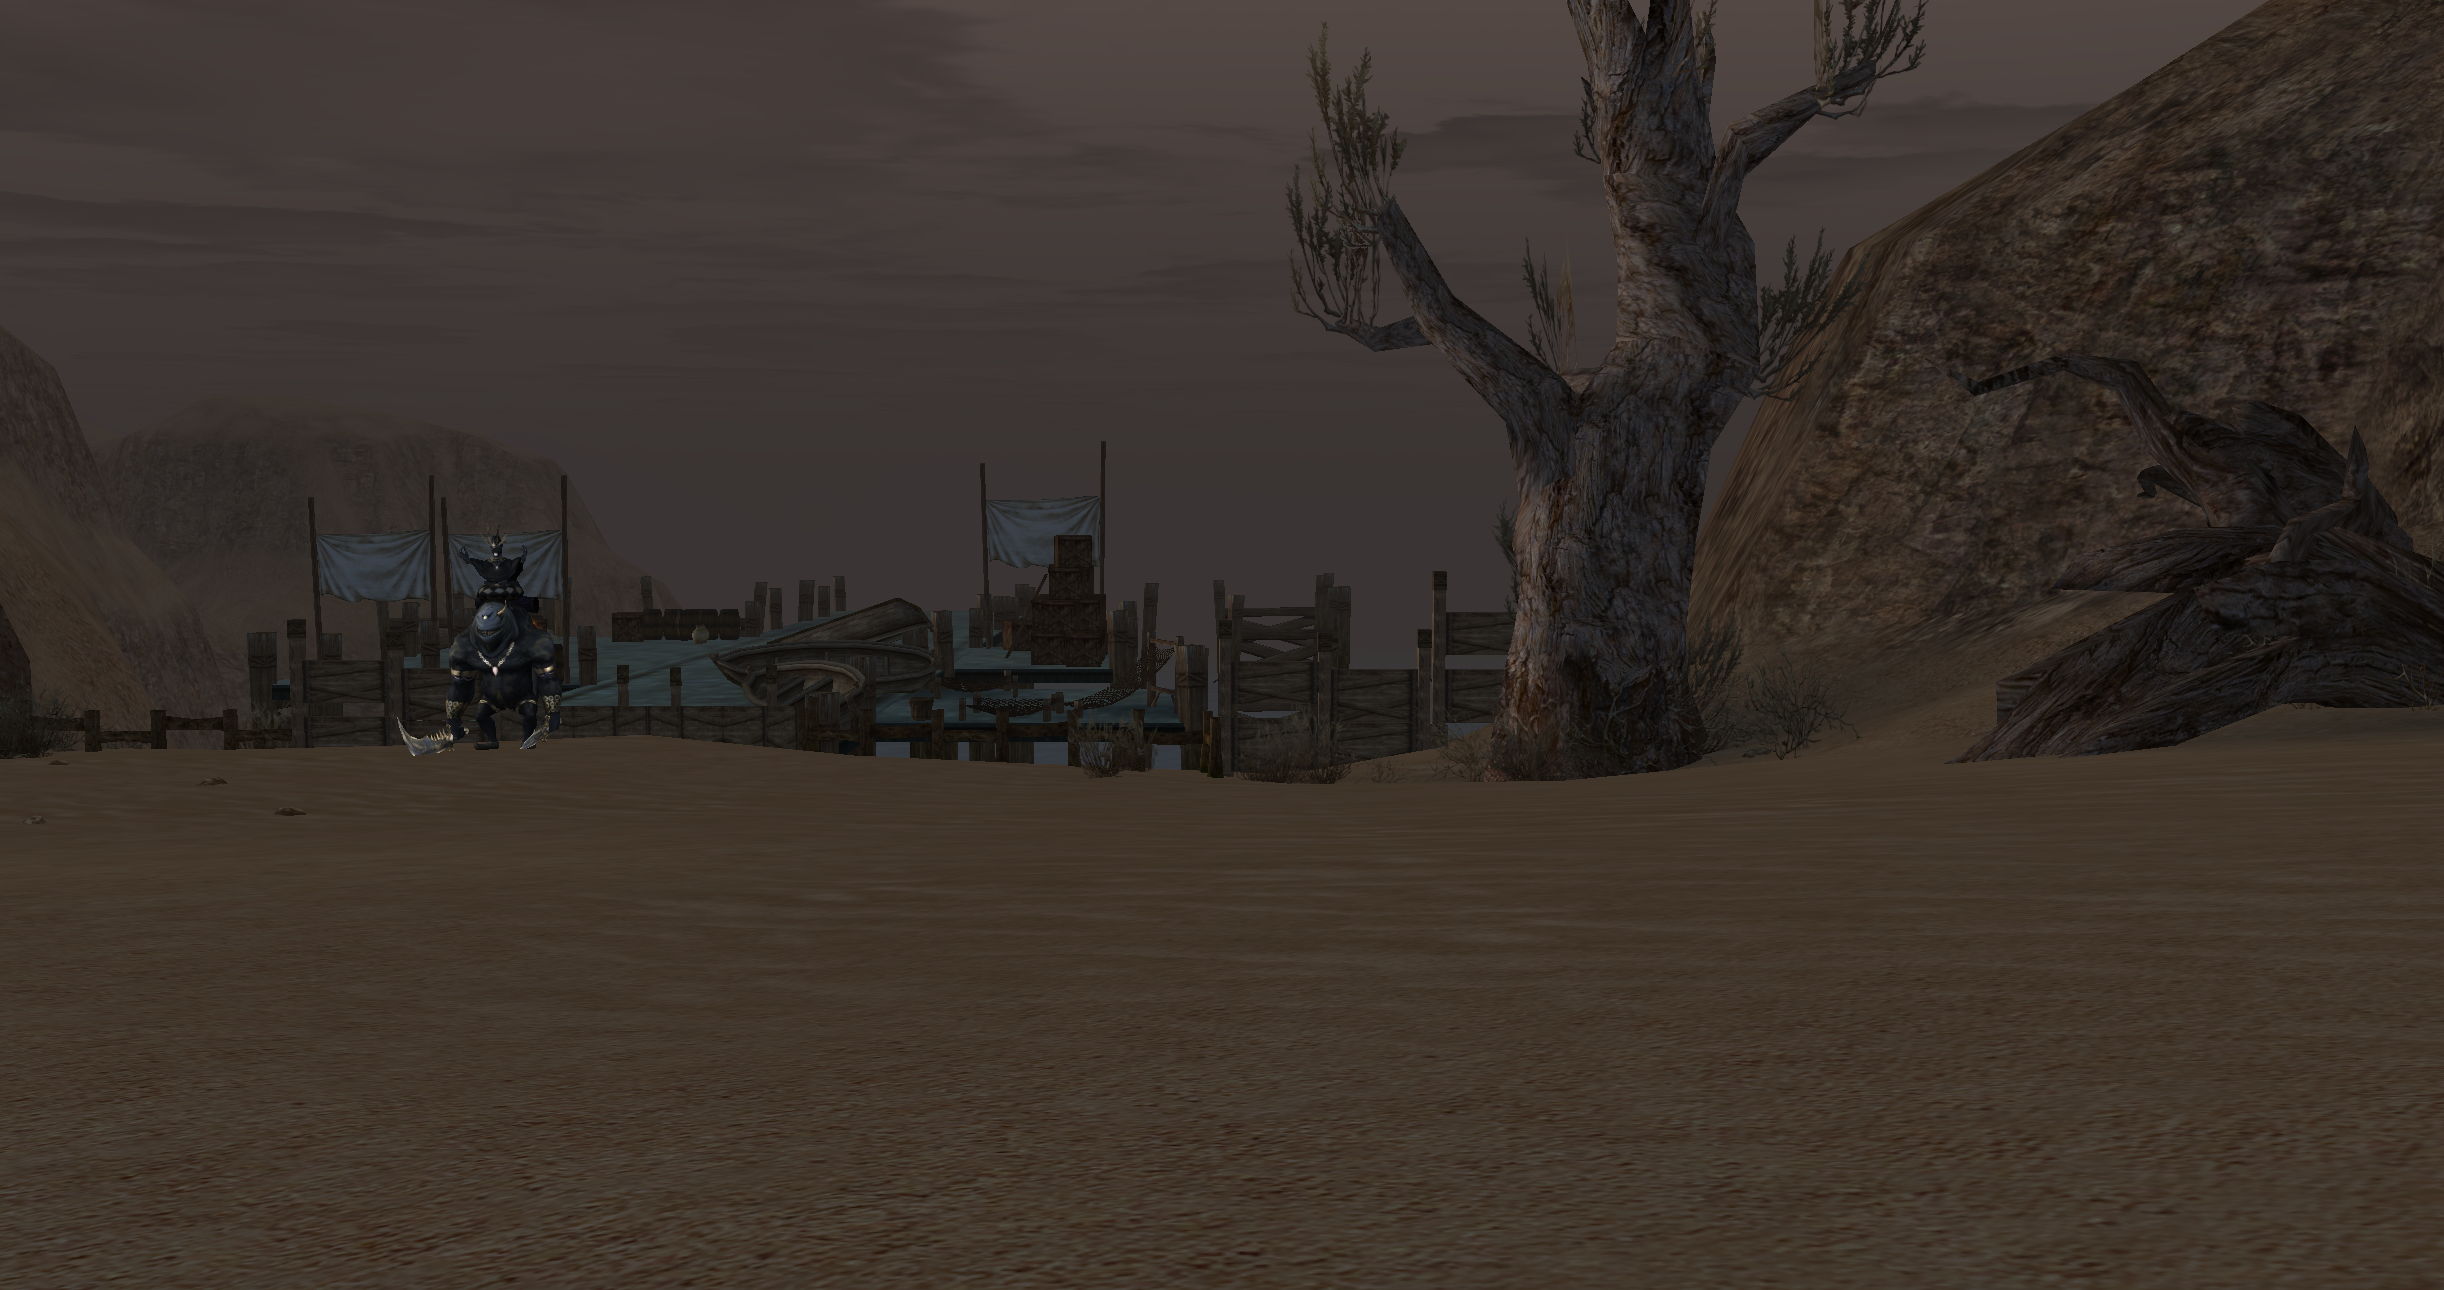
Jude — he stands right next to Hude on the desert side of Hellbound (Battered Lands area). So once you have looted your Evil Weapons in the Foundry, walk back to the same spot you visit for the Caravan Certificate exchanges. Jude handles the Icarus trade: Jude — stoi zaraz obok Hude'a po pustynnej stronie Hellbound (obszar Battered Lands). Wiec gdy juz zlootujesz Evil Weapons w Foundry, wroc w to samo miejsce gdzie robisz wymiany Caravan Certificate. Jude obsluguje handel Icarus:
| You give | You receive |
|---|---|
| 200 Evil Weapons | 1 random Icarus weapon recipe |
| 5 Evil Weapons | 3 random Icarus weapon parts |
| Dajesz | Otrzymujesz |
|---|---|
| 200 Evil Weapons | 1 losowy przepis na bron Icarus |
| 5 Evil Weapons | 3 losowe czesci broni Icarus |
Jude's dialog has always advertised "3 weapon pieces for every 5 Evil Weapons", but retail code mistakenly gave only 1. We fixed it — the trade now matches the dialog text. 5 Evil Weapons = 3 pieces. Dialog Jude'a zawsze reklamowal "3 czesci broni za kazde 5 Evil Weapons", ale retailowy kod omylkowo dawal tylko 1. Naprawilismy to — wymiana teraz odpowiada tekstowi dialogu. 5 Evil Weapons = 3 czesci.
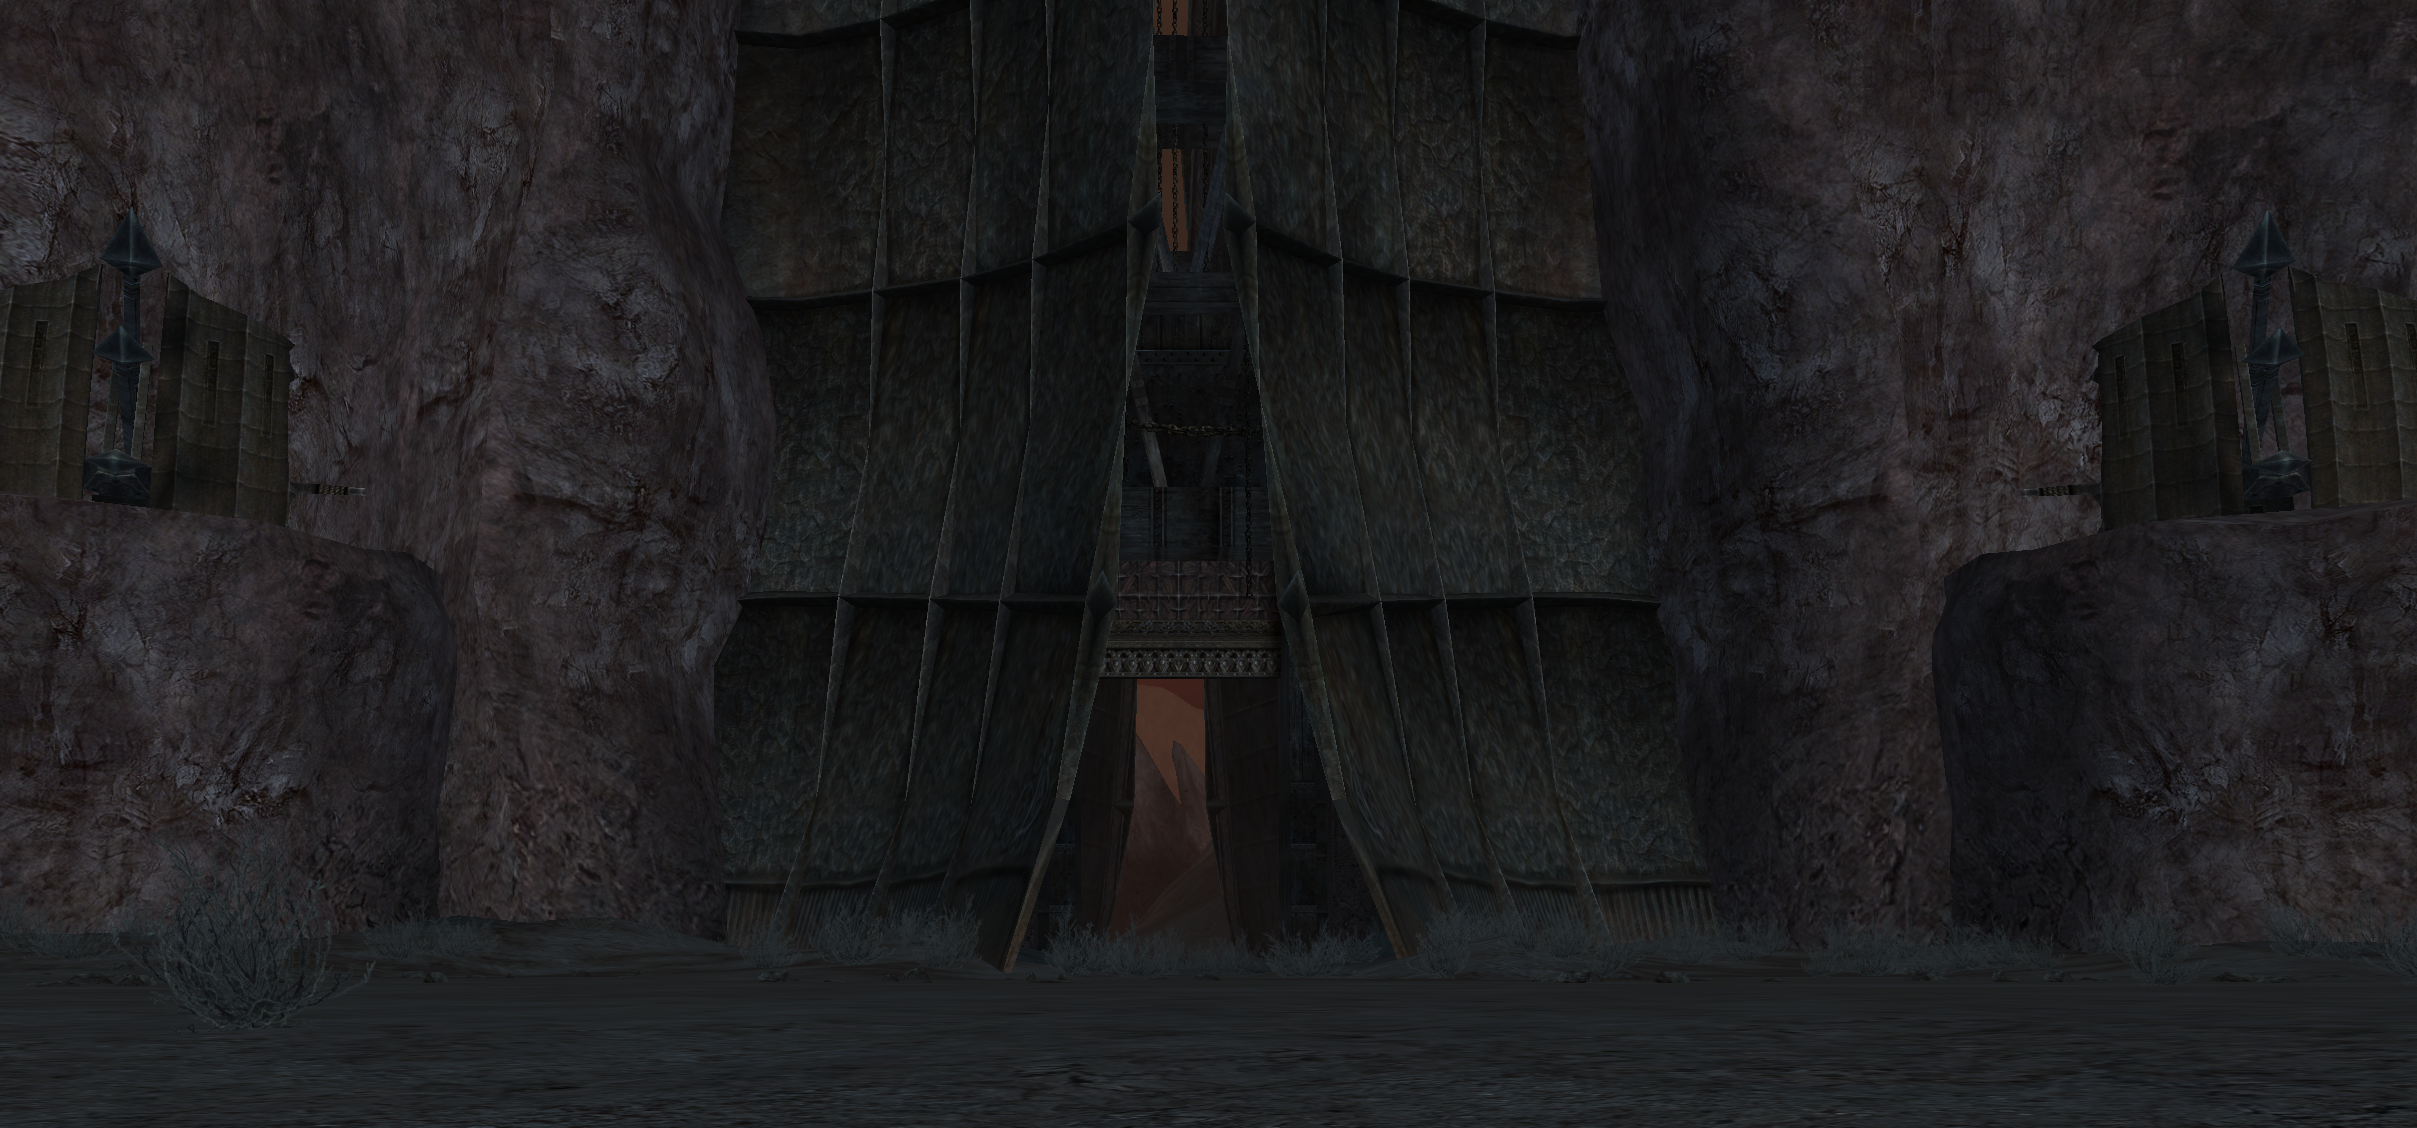
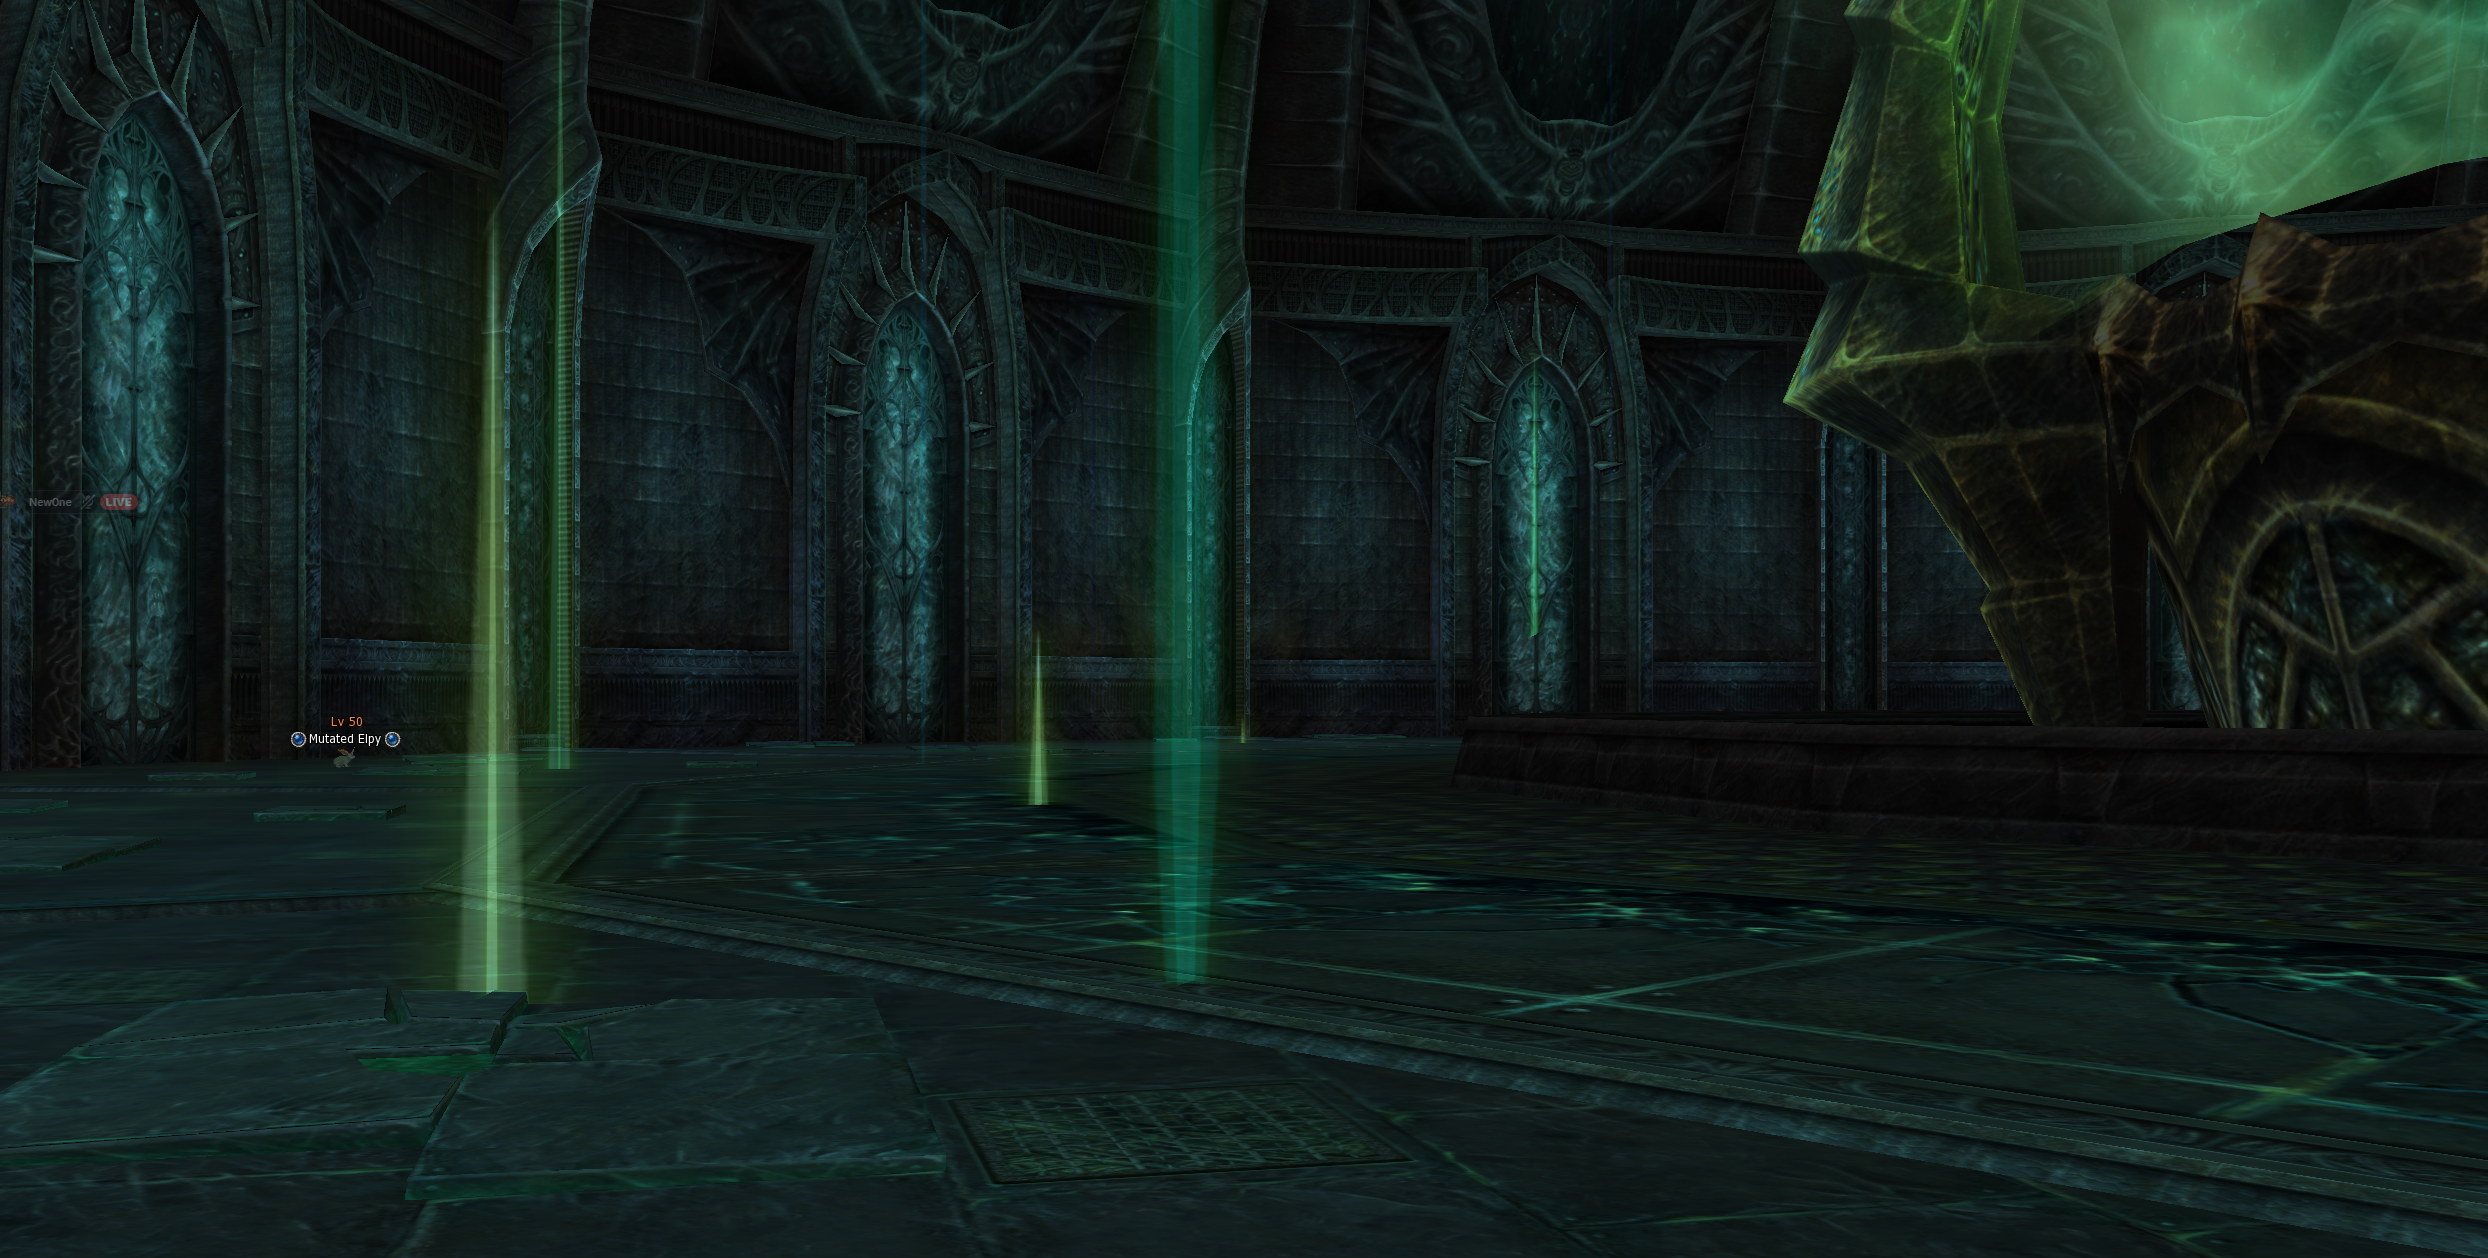
08Tower of Naia (Jerian, Mutated Elpy, Spore)Tower of Naia (Jerian, Mutated Elpy, Spore)
Tower of Naia is the road to Beleth. Entry is gated by Jerian — there are no auto-spawns or time windows like on retail. The whole zone is driven by Command Channel clicks. Tower of Naia to droga do Beletha. Wejscie jest kontrolowane przez Jerian — nie ma auto-spawnow ani okien czasowych jak na retailu. Cala strefa jest sterowana kliknieciami Command Channel.
Entry requirements (Tower of Naia option)Wymagania wejscia (opcja Tower of Naia)
- You must be a Command Channel of at least 11 members.Musisz byc Command Channel z minimum 11 czlonkami.
- The Hellbound island must be at Stage 12.Wyspa Hellbound musi byc na Stage 12.
"I sense the magic barrier still pulses with strength... Until this cursed land reaches its twelfth stage of awakening, even my arts cannot pierce the seal." Ponizej Stage 12 Jerian odmawia z kwestia fabularna:
"I sense the magic barrier still pulses with strength... Until this cursed land reaches its twelfth stage of awakening, even my arts cannot pierce the seal."
What happens when you click Tower of NaiaCo sie dzieje gdy klikniesz Tower of Naia
CC1 clicksklika tp_naia
    │
    ├─►  Spawn Mutated Elpy (single-instance — only if not already alivejedna instancja — tylko jesli jeszcze nie zyje)
    ├─►  25-minute cooldown for the next CC click (chase mechanic)25-minutowy cooldown na kolejne klikniecie CC (mechanika pogoni)
    ├─►  90-minute deadline to kill Elpy90-minutowy termin na zabicie Elpy
    └─►  Teleport CC to the standard spawn point in Naia TowerTeleport CC do standardowego punktu spawnu w Naia Tower
The 90-minute deadline90-minutowy termin
- Counts from the fresh Elpy respawn. Subsequent chase clicks do not extend it.Liczy sie od swiezego respawnu Elpy. Kolejne klikniecia pogoni nie przedluzaja go.
- Cancelled when Elpy is killed (= success).Anulowany gdy Elpy zostanie zabity (= sukces).
- Expiry → everyone in Tower of Naia is kicked back to Jerian and Elpy despawns.Po uplywie → wszyscy w Tower of Naia sa wyrzucani do Jerian a Elpy despawnuje sie.
The chase mechanic (25-min cooldown)Mechanika pogoni (25-min cooldown)
If a second CC clicks during the 25-min cooldown they are blocked. After 25 minutes, a competing CC can enter — Elpy is still alive, the original deadline is still ticking, the door to the boss room stays open. Both CCs can race for the kill. Jesli drugie CC kliknie podczas 25-minutowego cooldownu, zostanie zablokowane. Po 25 minutach konkurujace CC moze wejsc — Elpy nadal zyje, oryginalny termin nadal tyka, drzwi do pokoju bossa pozostaja otwarte. Oba CC moga scigac sie o zabicie.
- Element index limit 120 → 90 (puzzle is ~25% faster).Limit indeksu elementow 120 → 90 (zagadka jest ~25% szybsza).
- Idle abort (600 self-despawns) kicks everyone in the entire tower back to Jerian.Przerwanie bezczynnosci (600 samoczynnych despawnow) wyrzuca wszystkich w calej wiezy z powrotem do Jerian.
- A second Elpy killed during an active spore challenge is silently despawned (no puzzle reset).Drugi Elpy zabity podczas aktywnego wyzwania Spore jest cicho despawnowany (bez resetu zagadki).
Logout / login auto-rejoinWylogowanie / logowanie auto-dolaczanie
Crashes and short DCs are forgiven. The server remembers your party leader and logout timestamp inside the raid zones (TON, spore room, Beleth zone). Crashe i krotkie rozlaczenia sa wybaczane. Serwer pamięta Twojego lidera party i czas wylogowania w strefach raidowych (TON, pokoj spore, strefa Beleth).
| Re-login | What happens |
|---|---|
| Within 10 minutes | Auto-rejoin party + teleport directly to your leader (no re-invite needed). |
| After 10 minutes | Teleported out (TON / spore → Jerian, Beleth → nearest town). |
| Party is full (9/9), leader offline, or leader has left the zone | Teleported out — same as if grace had expired. |
| Ponowne logowanie | Co sie dzieje |
|---|---|
| W ciagu 10 minut | Auto-dolaczenie do party + teleport bezposrednio do lidera (nie trzeba ponownego zaproszenia). |
| Po 10 minutach | Teleport na zewnatrz (TON / spore → Jerian, Beleth → najblizsze miasto). |
| Party pelne (9/9), lider offline lub lider opuscil strefe | Teleport na zewnatrz — tak samo jakby czas laski minal. |
Goal: a crash should not cost you your raid spot, but AFK loaders cannot hold a slot indefinitely. Cel: crash nie powinien kosztowac Cie miejsca w raidzie, ale AFK loaderzy nie moga trzymac slotu w nieskonczonosc.
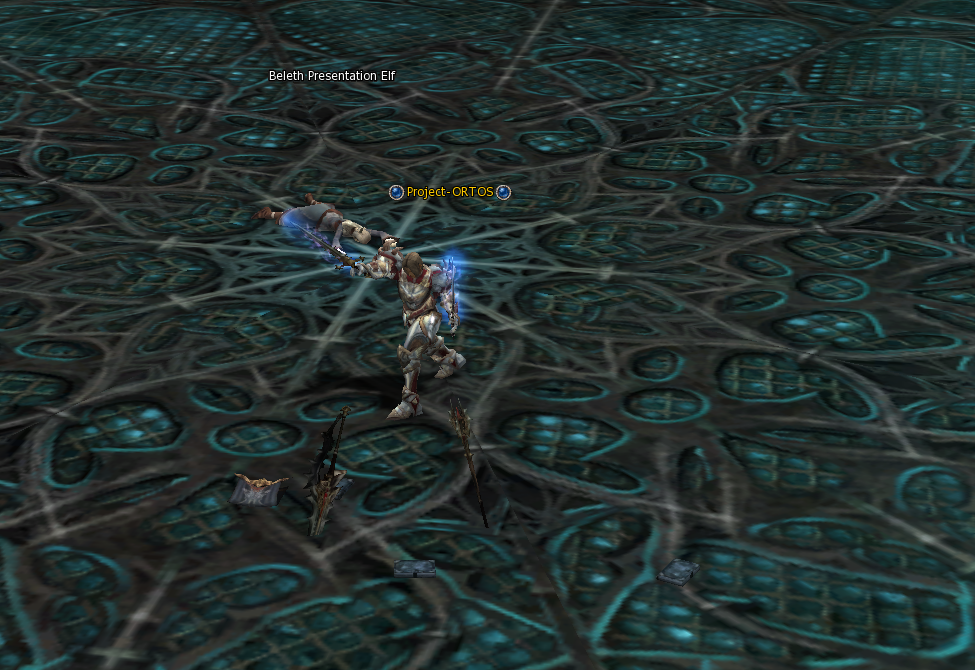
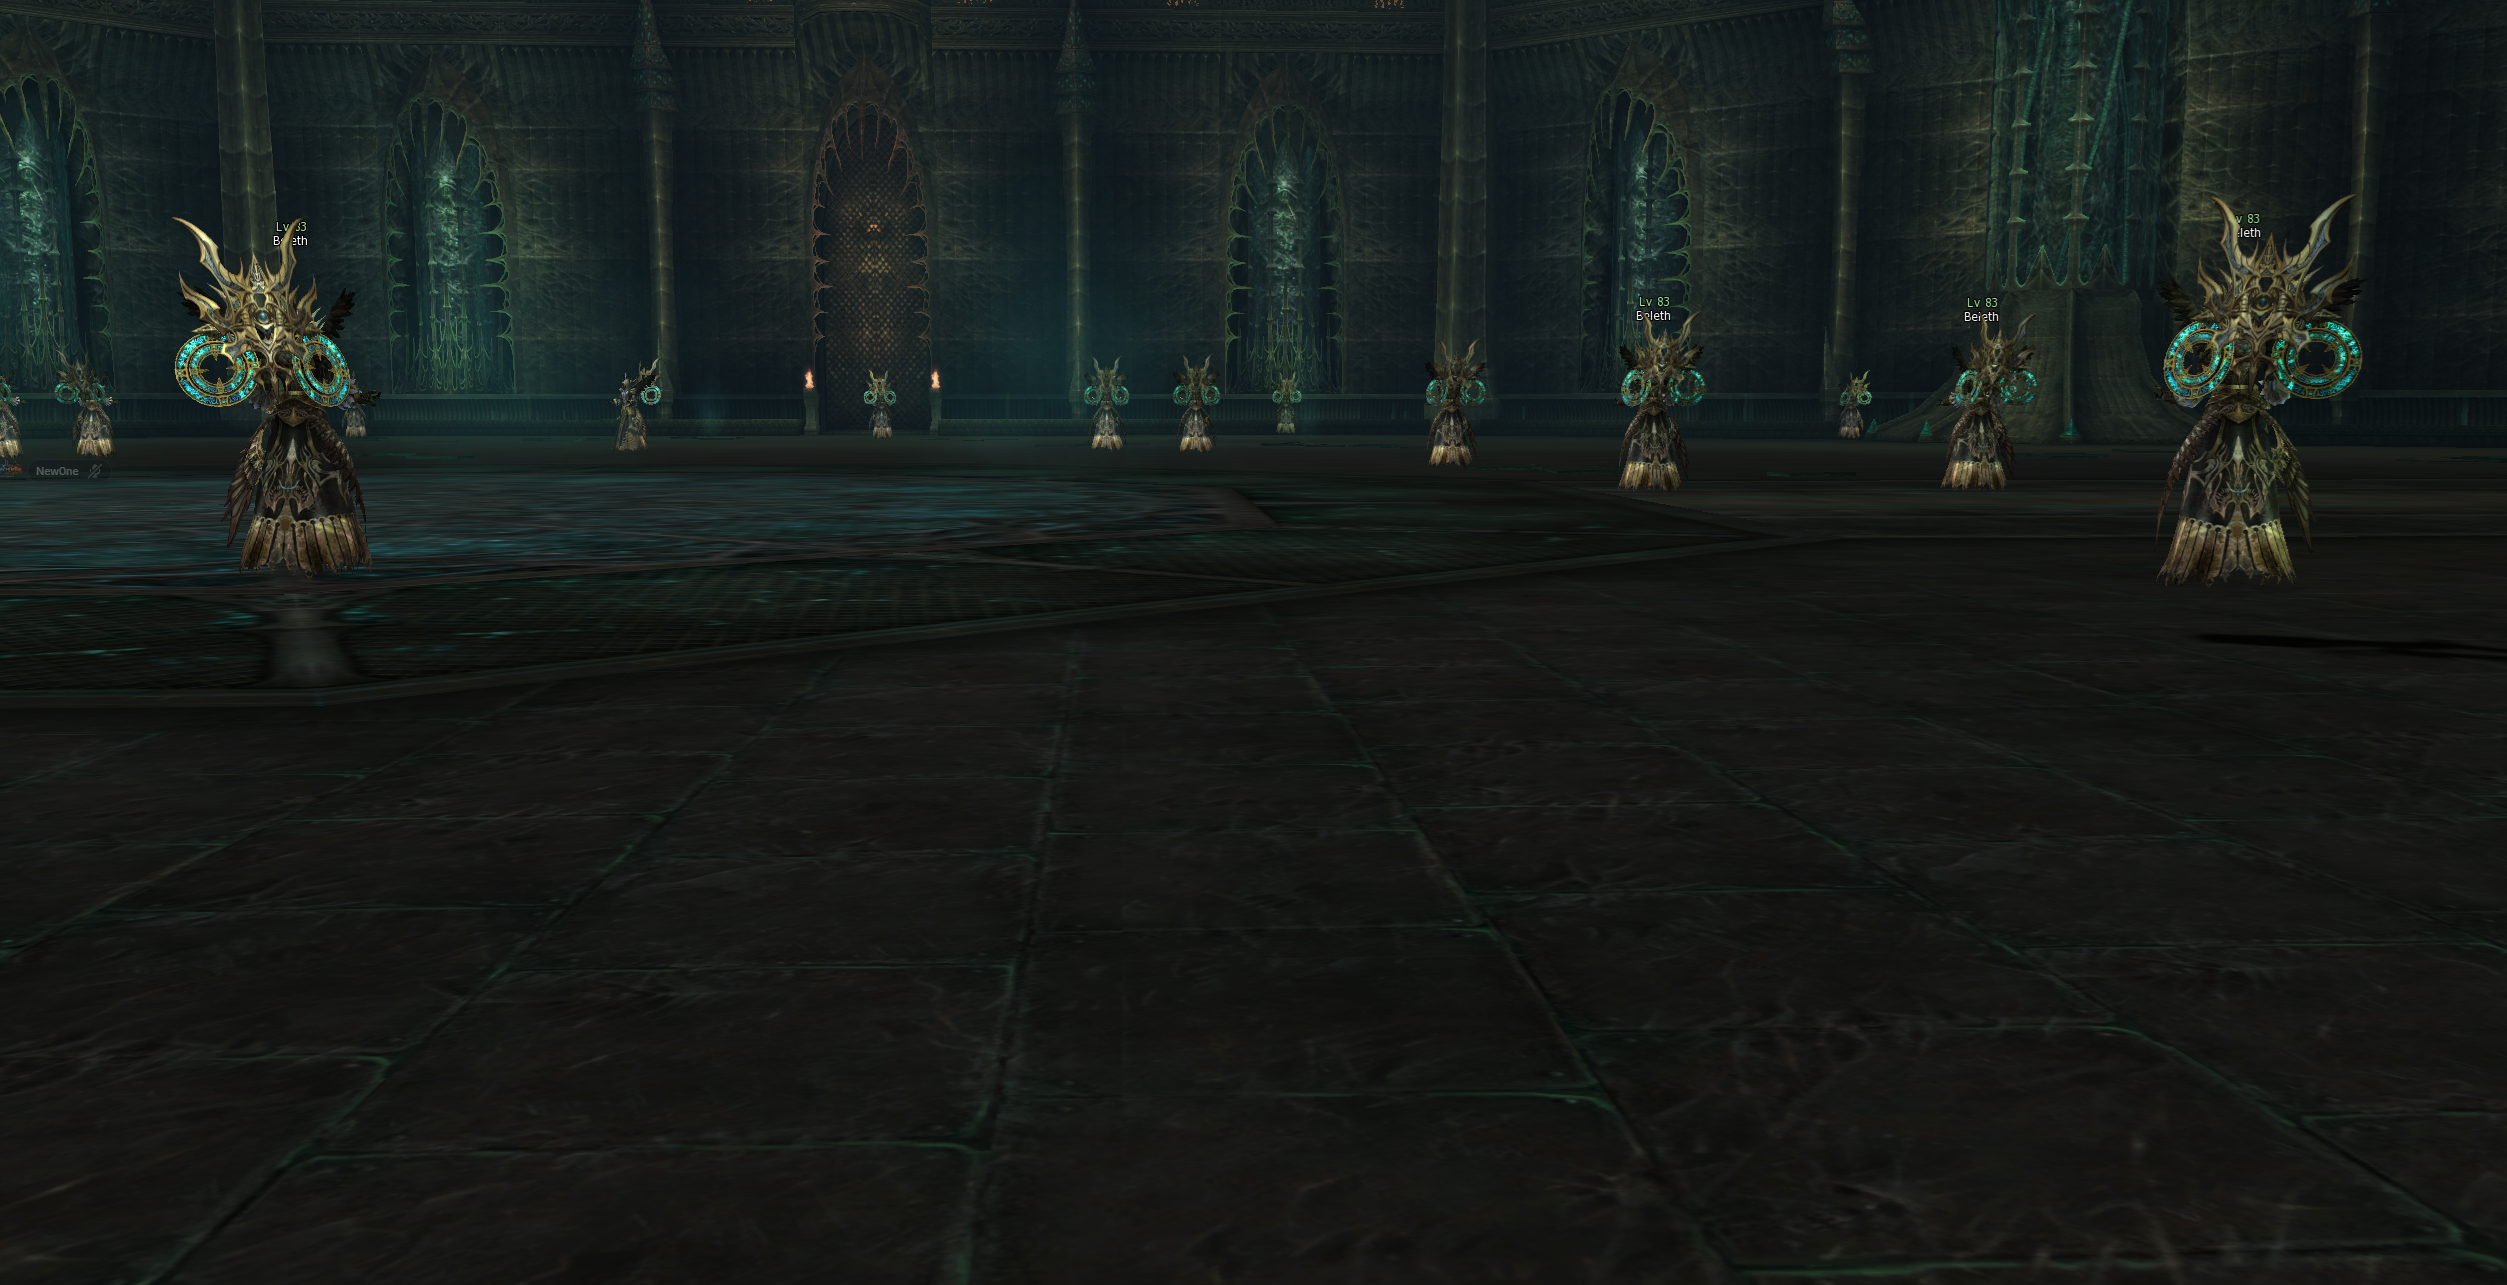
09The Beleth fightWalka z Belethem
Once Mutated Elpy is dead and your CC has cleared the spore challenge, you can engage Beleth, the final boss of Hellbound. The fight has been retuned for the smaller Project Ortos community size. Gdy Mutated Elpy nie zyje i Twoje CC przeszlo wyzwanie Spore, mozesz zaatakowac Beletha, finalnego bossa Hellbound. Walka zostala dostrojona pod mniejsza spolecznosc Project Ortos.
Project Ortos changes vs retailZmiany Project Ortos vs retail
| Retail | Project Ortos | |
|---|---|---|
| Minimum CC members | 36 | 11 |
| Time cap | single 15-min cap for the whole fight | 25 min per phase — each fake-Beleth round + the real Beleth fight have their own 25-min timer that resets on every progress event |
| Worst-case total fight length | ~15 min | up to ~150 min (5 fake rounds × 25 min + 25 min for the real boss) |
| "You found me" hint | none — pure RNG until something dies | at 75% HP the correct fake Beleth shouts a clear taunt (one-shot per round) |
| Retail | Project Ortos | |
|---|---|---|
| Minimum czlonkow CC | 36 | 11 |
| Limit czasu | jeden 15-min cap na cala walke | 25 min na faze — kazda runda fake-Beleth + walka z prawdziwym Belethem maja wlasny 25-min timer resetowany co kazdy progress |
| Najgorszy laczny czas walki | ~15 min | do ~150 min (5 fałszywych rund × 25 min + 25 min na prawdziwego bossa) |
| Podpowiedz "You found me" | brak — czysty RNG az cos zginie | przy 75% HP prawidlowy fake Beleth krzyczy wyrazna prowokacje (raz na runde) |
The retail 15-minute hard cap was tuned for 36-player groups. With our 11-player minimum those phases simply could not finish in time, so we give each phase its own fresh 25-min timer instead. The taunt hint removes the "is this the right one?" coin-flip — once a fake Beleth dips below 75% HP and shouts at you, you commit and finish the kill. Retailowy twardy 15-minutowy cap byl dostrojony pod 36-osobowe grupy. Z naszym minimum 11 graczy te fazy po prostu nie mogly skonczyc sie na czas, wiec dajemy kazdej fazie wlasny swiez 25-minutowy timer. Podpowiedz prowokacji usuwa rzut moneta "czy to ten prawidlowy?" — gdy fake Beleth spadnie ponizej 75% HP i krzyknie na Ciebie, zobowiazujesz sie i konczysz zabicie.
How the fight works (overview)Jak dziala walka (przeglad)
- Your CC enters the Steel Citadel teleport. Beleth zone gets locked to your CC for the duration of the fight. Twoje CC wchodzi przez teleport Steel Citadel. Strefa Beleth zostaje zablokowana dla Twojego CC na czas trwania walki.
- After the entry timer (5 min), the first wave of fake Beleths spawns. One of them is the "correct" one — the CC must identify and kill it. 25-min timer on this round. Po timerze wejscia (5 min) spawnuje sie pierwsza fala falszywych Belethow. Jeden z nich jest "prawidlowy" — CC musi go zidentyfikowac i zabic. 25-minutowy timer na te runde.
- At 75% HP the correct fake shouts "ARGH! You found me, you little brat! Don't think I'll go down easy!" — your cue to commit DPS and finish it. Przy 75% HP prawidlowy fake krzyczy "ARGH! You found me, you little brat! Don't think I'll go down easy!" — to Twoj sygnal zeby skupic DPS i dobić go.
- Killing the correct fake → cancels the round's 25-min cap, short break, then the next fake-Beleth wave spawns with a fresh 25-min timer. Repeat for 5 rounds total. Zabicie prawidlowego fake'a → anuluje 25-min cap rundy, krotka przerwa, potem spawnuje sie nastepna fala fake-Belethow z nowym 25-min timerem. Powtorz 5 rund lacznie.
- After the 5th correct kill, the real Beleth spawns with its own 25-min cap. Drop it → loot the rewards. Done. Po 5. prawidlowym zabicu spawnuje sie prawdziwy Beleth z wlasnym 25-min capem. Powal go → zlootuj nagrody. Gotowe.
Per phase there are actually two 25-min timers ticking: Na faze dzialaja tak naprawde dwa 25-minutowe timery:
- PHASE_TIMEOUT — the hard cap (no progress in 25 min → wipe + reset).PHASE_TIMEOUT — twardy cap (brak postepu w 25 min → wipe + reset).
- CHECK_ATTACK — idle watchdog (no attack on Beleth in 25 min → same wipe + reset).CHECK_ATTACK — watchdog bezczynnosci (brak ataku na Beletha w 25 min → ten sam wipe + reset).
Either one expiring kicks everyone to town, despawns the NPCs and resets the kill count. In practice if your CC is engaging the boss you only ever interact with PHASE_TIMEOUT. Wygas ktoregolwiek wyrzuca wszystkich do miasta, despawnuje NPCe i resetuje licznik zabic. W praktyce jesli Twoje CC walczy z bossem, wchodzisz w interakcje tylko z PHASE_TIMEOUT.
Loot — Ring of BelethLoot — Ring of Beleth
The Ring of Beleth is the signature reward of this raid. It is not a regular drop on Beleth's corpse — instead, the moment Beleth dies a Stone Coffin spawns inside the boss arena. Only the player who landed the killing blow on the real Beleth can talk to the coffin and receive the ring. Ring of Beleth to flagowa nagroda z tego raidu. To nie jest zwykly drop ze zwlok Beletha — zamiast tego, w momencie smierci Beletha w arenie bossa pojawia sie Stone Coffin. Tylko gracz ktory zadal ostatni cios prawdziwemu Belethowi moze porozmawiać z trumna i otrzymac pierscien.
Anyone else in the CC who clicks the coffin gets a "not for you" dialog. Plan the kill accordingly — typically the CC leader / main DPS finishes Beleth so the ring goes to a pre-agreed person. There is 1 ring per Beleth kill; the rest of the CC share whatever else drops in the zone. Kazdy inny w CC kto kliknie trumne dostanie dialog "nie dla Ciebie". Planuj zabicie odpowiednio — zazwyczaj lider CC / glowny DPS konczy Beletha, zeby pierscien trafil do wczesniej uzgodnionej osoby. Jest 1 pierscien na zabicie Beletha; reszta CC dzieli sie czymkolwiek innym co spada w strefie.
Ring of Beleth — statsRing of Beleth — staty
- S-grade ring, enchantablePierscien S-grade, enchantowalny
- +12% M.Def
- +105 HP / +38 MP
- +30 resistance to Dark attacks+30 odpornosci na ataki Dark
- +10 resistance to Mental abnormal state / +10 chance to inflict Mental abnormal state+10 odpornosci na Mental abnormal state / +10 szansy na zadanie Mental abnormal state
- +0.23 MP recharge power
Wearable in either ring slot, so you can stack two if your CC manages to kill Beleth twice and you keep both rings. Mozna nosic w dowolnym slocie pierscienia, wiec mozesz zalozyc dwa jesli Twoje CC zabile Beletha dwa razy i masz oba pierscienie.
The moment a CC enters Beleth's zone: W momencie gdy CC wchodzi do strefy Beletha:
- Mutated Elpy is despawned.Mutated Elpy jest despawnowany.
- The Tower of Naia 90-min deadline is cancelled.90-minutowy termin Tower of Naia jest anulowany.
- Everyone still inside TON is kicked back to Jerian.Wszyscy nadal znajdujacy sie w TON sa wyrzucani do Jerian.
In other words: be sure your whole CC has finished with TON before you commit to Beleth — there is no going back to fight Elpy mid-Beleth. Innymi slowy: upewnij sie ze cale Twoje CC skonczylo z TON zanim zaangazujesz sie w Beletha — nie ma powrotu do walki z Elpy w trakcie Beletha.
Boss-room doorDrzwi pokoju bossa
The boss-room door does not auto-close on Elpy kill — it stays accessible so a chase CC still has a window to enter the spore challenge. This is intentional: on retail the door slamming shut killed off chase mechanics entirely. Drzwi pokoju bossa nie zamykaja sie automatycznie po zabiciu Elpy — pozostaja dostepne, wiec konkurujace CC nadal ma okno na wejscie do wyzwania Spore. Jest to celowe: na retailu trzaskajace drzwi calkowicie zabijaly mechanike pogoni.
10Cheat sheetSciagawka
- 20 Darion's Badge → Falk → Basic Caravan Cert.20 Darion's Badge → Falk → Basic Caravan Cert.
- Basic + 30 Mark of Betrayal + 60 Stinger → Hude → Standard Caravan Cert.Basic + 30 Mark of Betrayal + 60 Stinger → Hude → Standard Caravan Cert.
- 20 Stinger → Kief → Magic Bottle (one-time, re-usable forever).20 Stinger → Kief → Magic Bottle (jednorazowo, wielokrotnego uzytku na zawsze).
- Beat target under 10% HP, then bottle (drops on the ground for you): Celtus → 1 Contained Life Force, Chimera → 80% Dim / 16% Life Force / 4% nothing.Zbij cel ponizej 10% HP, potem butelka (spada na ziemie dla Ciebie): Celtus → 1 Contained Life Force, Chimera → 80% Dim / 16% Life Force / 4% nic.
- Standard + 30 Life Force + 8 Contained Life Force → Hude → Premium Cert + Map.Standard + 30 Life Force + 8 Contained Life Force → Hude → Premium Cert + Map.
- Hold Premium Cert → Hude opens Sealed Dynasty multi-sell.Trzymaj Premium Cert → Hude otwiera Sealed Dynasty multi-sell.
- Farm Ancient Tomes → open them for Hidden Pages + Demon Contract Fragments.Farm Ancient Tomes → otwieraj je po Hidden Pages + Demon Contract Fragments.
- Pay the multi-sell → Sealed Dynasty Pieces → craft / unseal your Dynasty.Zaplac w multi-sellu → Sealed Dynasty Pieces → craftuj / odpieczatuj swoje Dynasty.
- Hellbound must be at level 11.Hellbound musi byc na poziomie 11.
- Grind any HB mob (+1), Chimeras (+5), or Celtus (+10).Grinduj dowolnego moba HB (+1), Chimery (+5) lub Celtusa (+10).
- Trade Dim Life Force at Hude (+5 per DLF, also pays 20k adena each).Wymieniaj Dim Life Force u Hude'a (+5 za DLF, placi tez 20k adeny za kazdego).
- Reach 400 000 points server-wide.Osiagnij 400 000 punktow na calym serwerze.
- Server auto-promotes to Stage 12.Serwer automatycznie awansuje do Stage 12.
- Check progress with
.hellbound.Sprawdz postep komenda.hellbound.
- Stage 12 unlocked, party leader of a 2+ party.Stage 12 odblokowane, lider party z 2+ czlonkami.
- Talk to Jerian → teleport to Anomic Foundry.Porozmawiaj z Jerian → teleport do Anomic Foundry.
- Kill Foundry Laborer / Foreman → roll Lesser / Greater Evil.Zabij Foundry Laborer / Foreman → losuj Lesser / Greater Evil.
- Loot Evil Weapons.Zlootuj Evil Weapons.
- Trade with Jude: 200 EW = recipe, 5 EW = 3 parts.Wymien u Jude'a: 200 EW = przepis, 5 EW = 3 czesci.
- Craft / assemble your Icarus weapon.Craftuj / zloz swoja bron Icarus.
- Form CC of 11+ members.Utworz CC z 11+ czlonkami.
- Talk to Jerian → Tower of Naia.Porozmawiaj z Jerian → Tower of Naia.
- Kill Mutated Elpy within 90 minutes.Zabij Mutated Elpy w ciagu 90 minut.
- Clear spore challenge (90 elements).Przejdz wyzwanie Spore (90 elementow).
- Enter Steel Citadel teleport with the CC leader.Wejdz teleportem Steel Citadel z liderem CC.
- 5 fake-Beleth rounds — listen for "ARGH! You found me..." at 75% HP to confirm the correct clone (25 min/round).5 rund fake-Beleth — sluchaj "ARGH! You found me..." przy 75% HP aby potwierdzic prawidlowego klona (25 min/runda).
- After the 5th correct kill, drop the real Beleth (own 25-min cap).Po 5. prawidlowym zabiciu powal prawdziwego Beletha (wlasny 25-min cap).